Start a Blog
A Guide to Starting Your Blog on Swarm
There are many different approaches to starting a blog on Swarm, however the easiest is to use the Etherjot Web blogging tool. Etherjot Web is a straightforward tool for publishing and editing your blog on Swarm. It handles all uploading of files, page customization, basic UI template, and even comes with a "comments" feature so any other Swarm user can leave a comment on your blog.
Requirements
Getting Started
To get started you must first have installed Swarm Desktop and have it running on your computer with a valid stamp batch. Note that your blog will only stay online as long as the postage batch is still valid, therefore you must make sure to stay aware of the postage batch TTL (time to live), and top up your batch regularly in order to keep your content online.
Open Etherjot
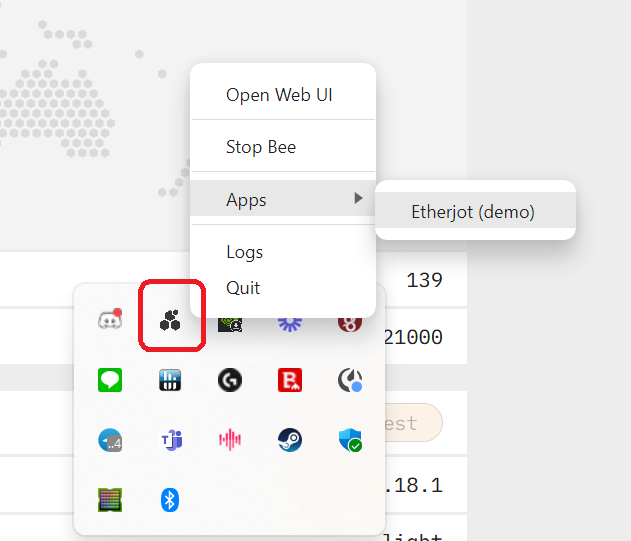
To open Etherjot, right click the Swarm Desktop icon in your dashboard and navigate to "Apps", and then click on "Etherjot".
Initialize Your Blog
When first starting Etherjot Web, you will be greeted with this page:

On this page, as long as you have fulfilled the requirements outlined above, you will see two green checkmarks confirming you have Swarm Desktop running with a valid postage stamp batch. You will also see a warning reminding you of the importance of topping up your stamp batch to prevent the batch TTL from running out.
In addition to monitoring your postage stamp batch TTL, it is also important that you back up your blog, or else you may lose access to your blog in Etherjot (although it will still remain live on Swarm as long as its stamp batch has not expired).
Fill in your blog name, check the box with the TTL warning, and click the "Create" button to initialize your blog. This will issue a Swarm transaction to set up a feed for your blog. The transaction will take a few moments, after which you will be greeted with the Etherjot Web blog editor.
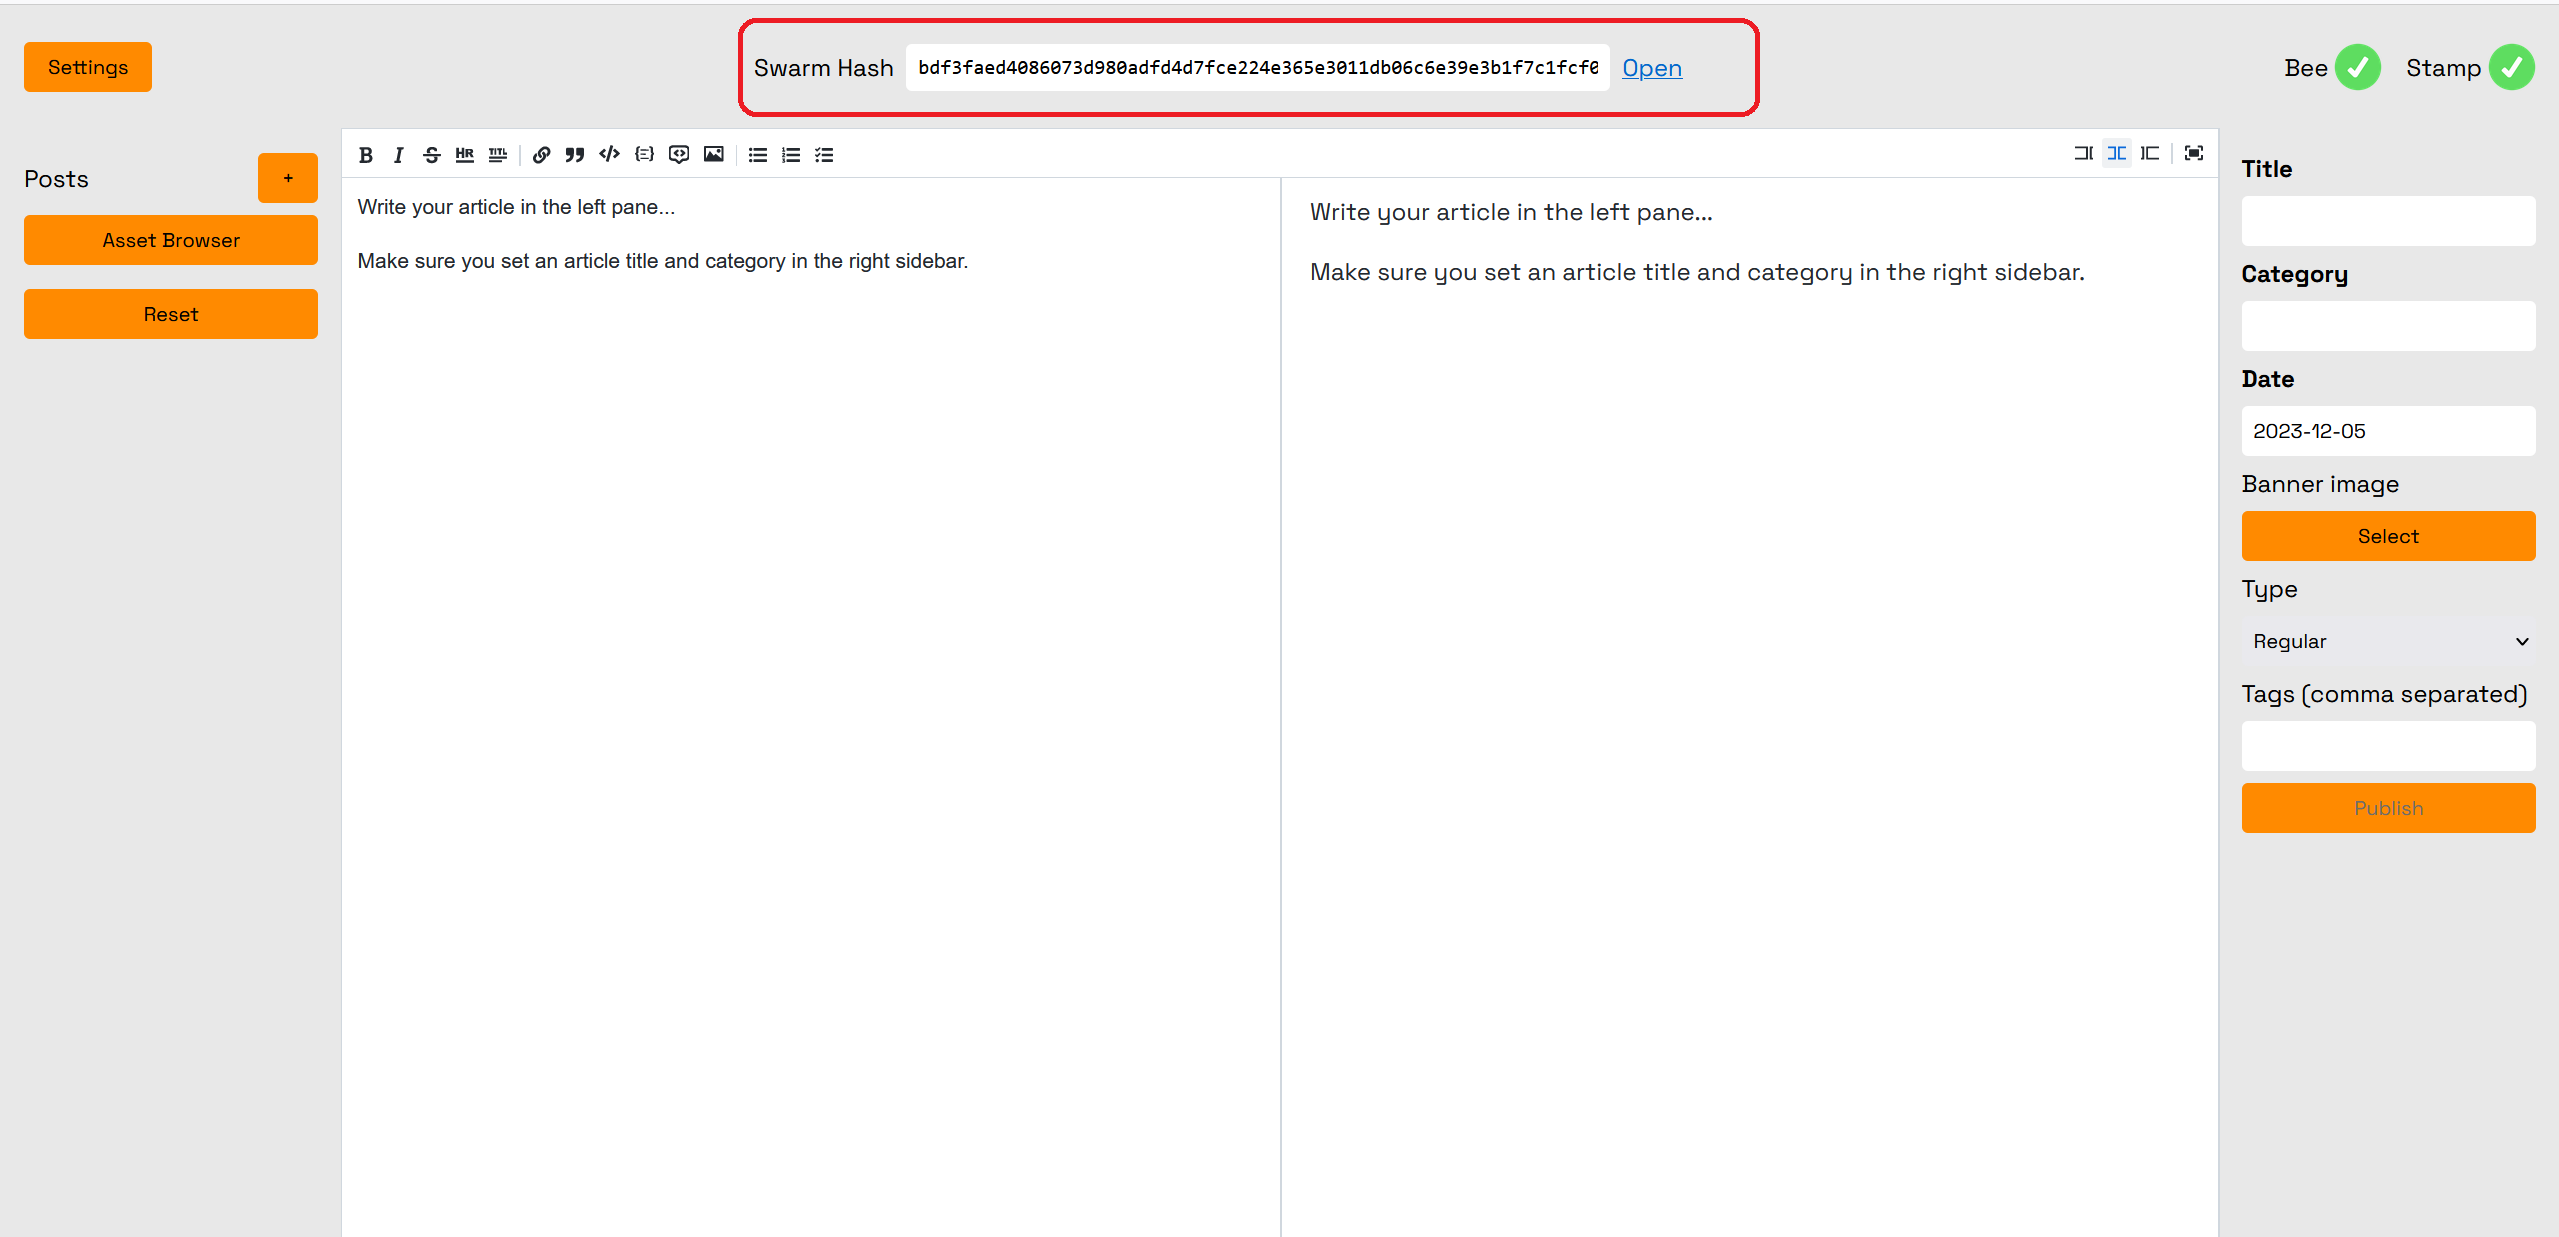
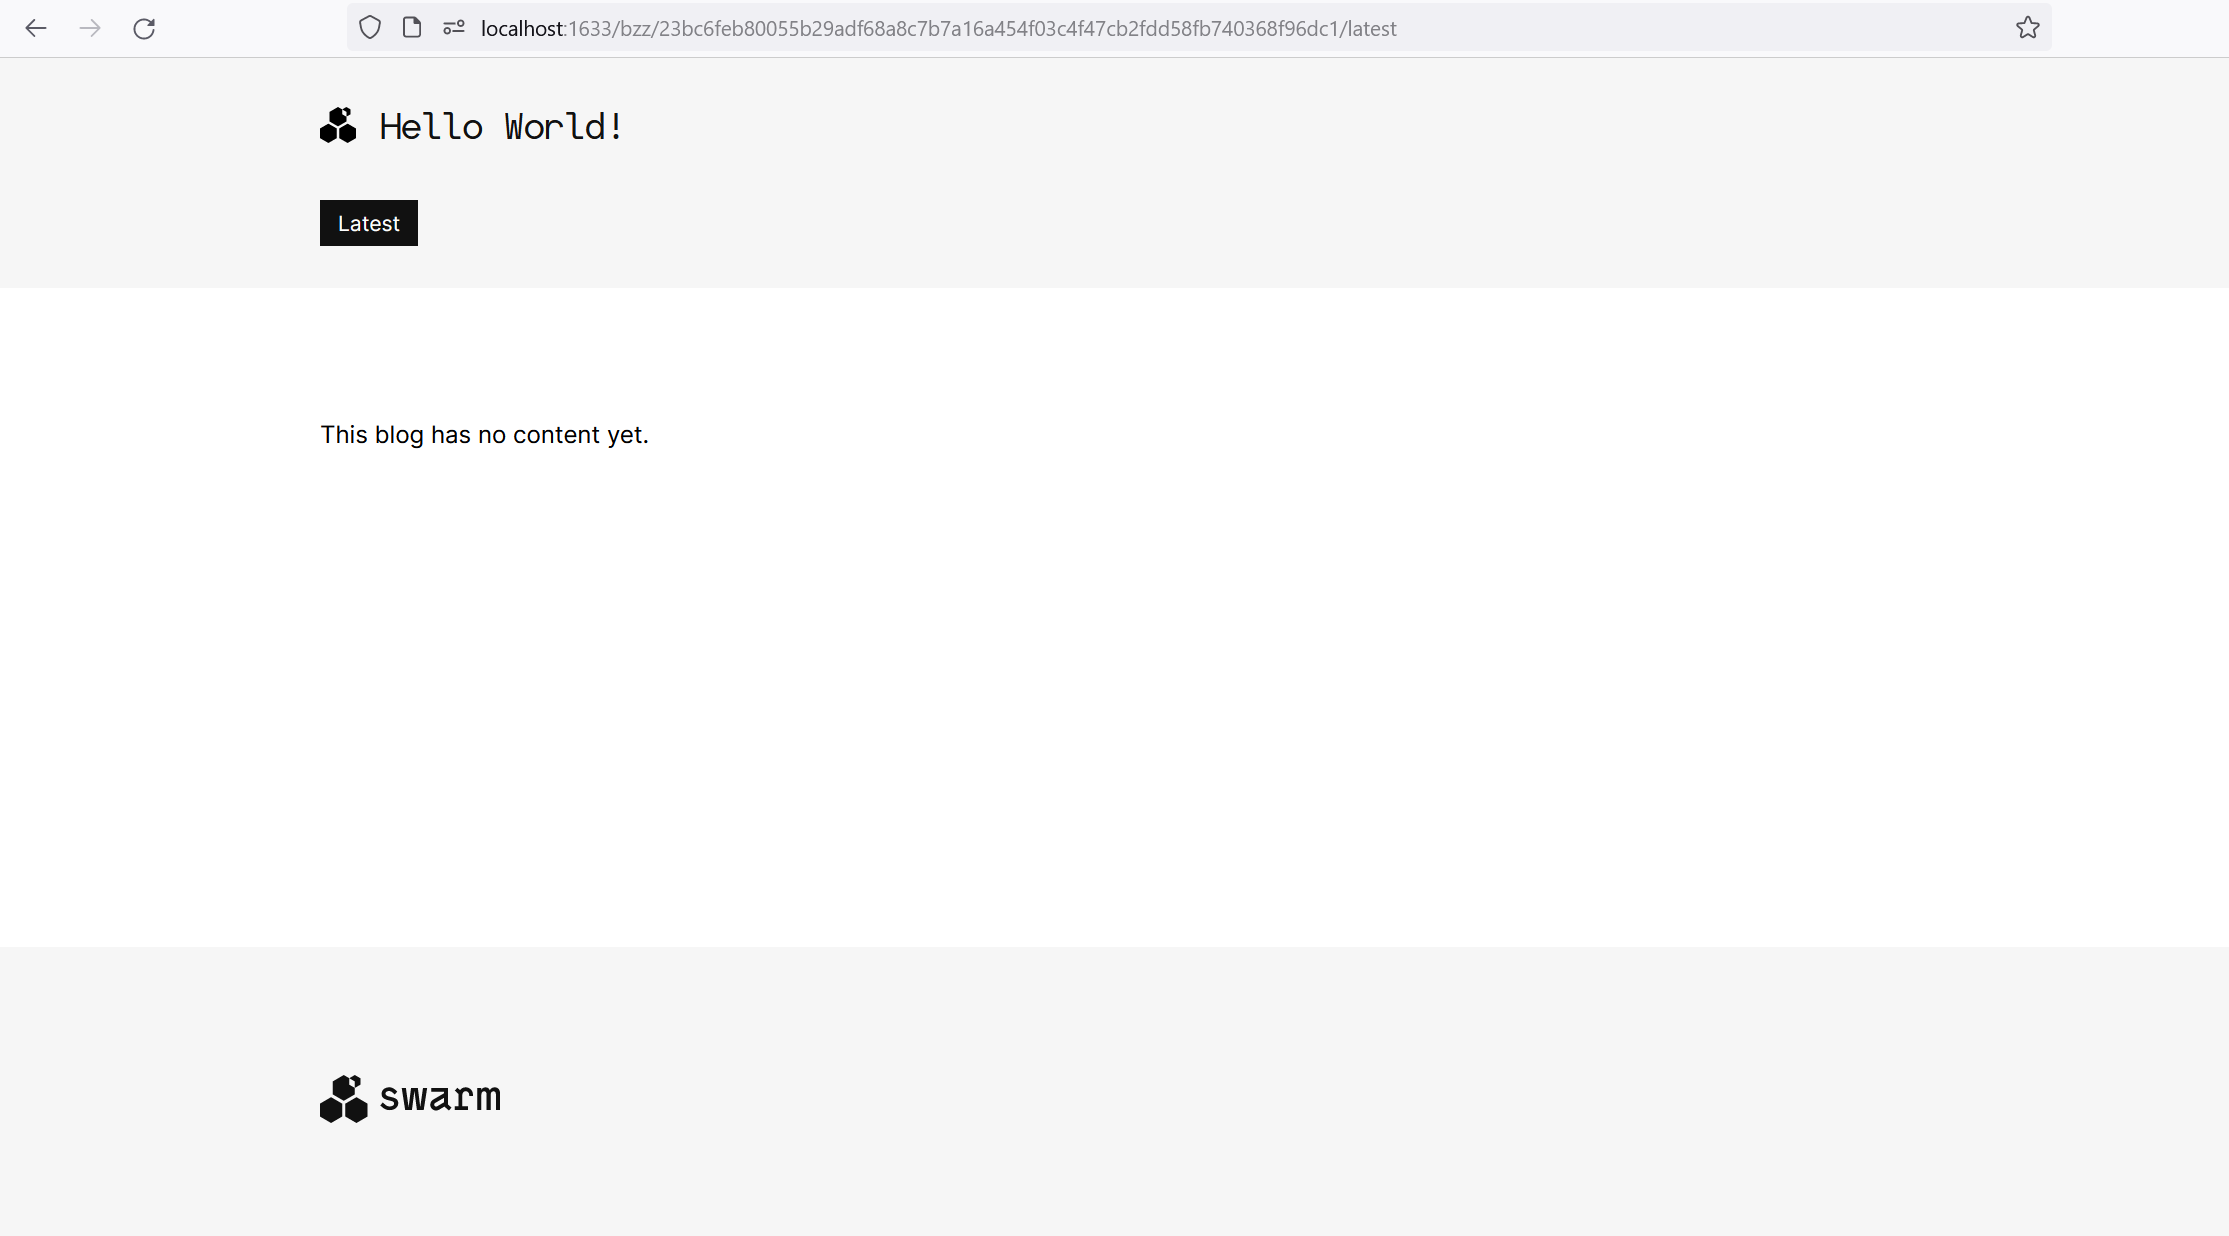
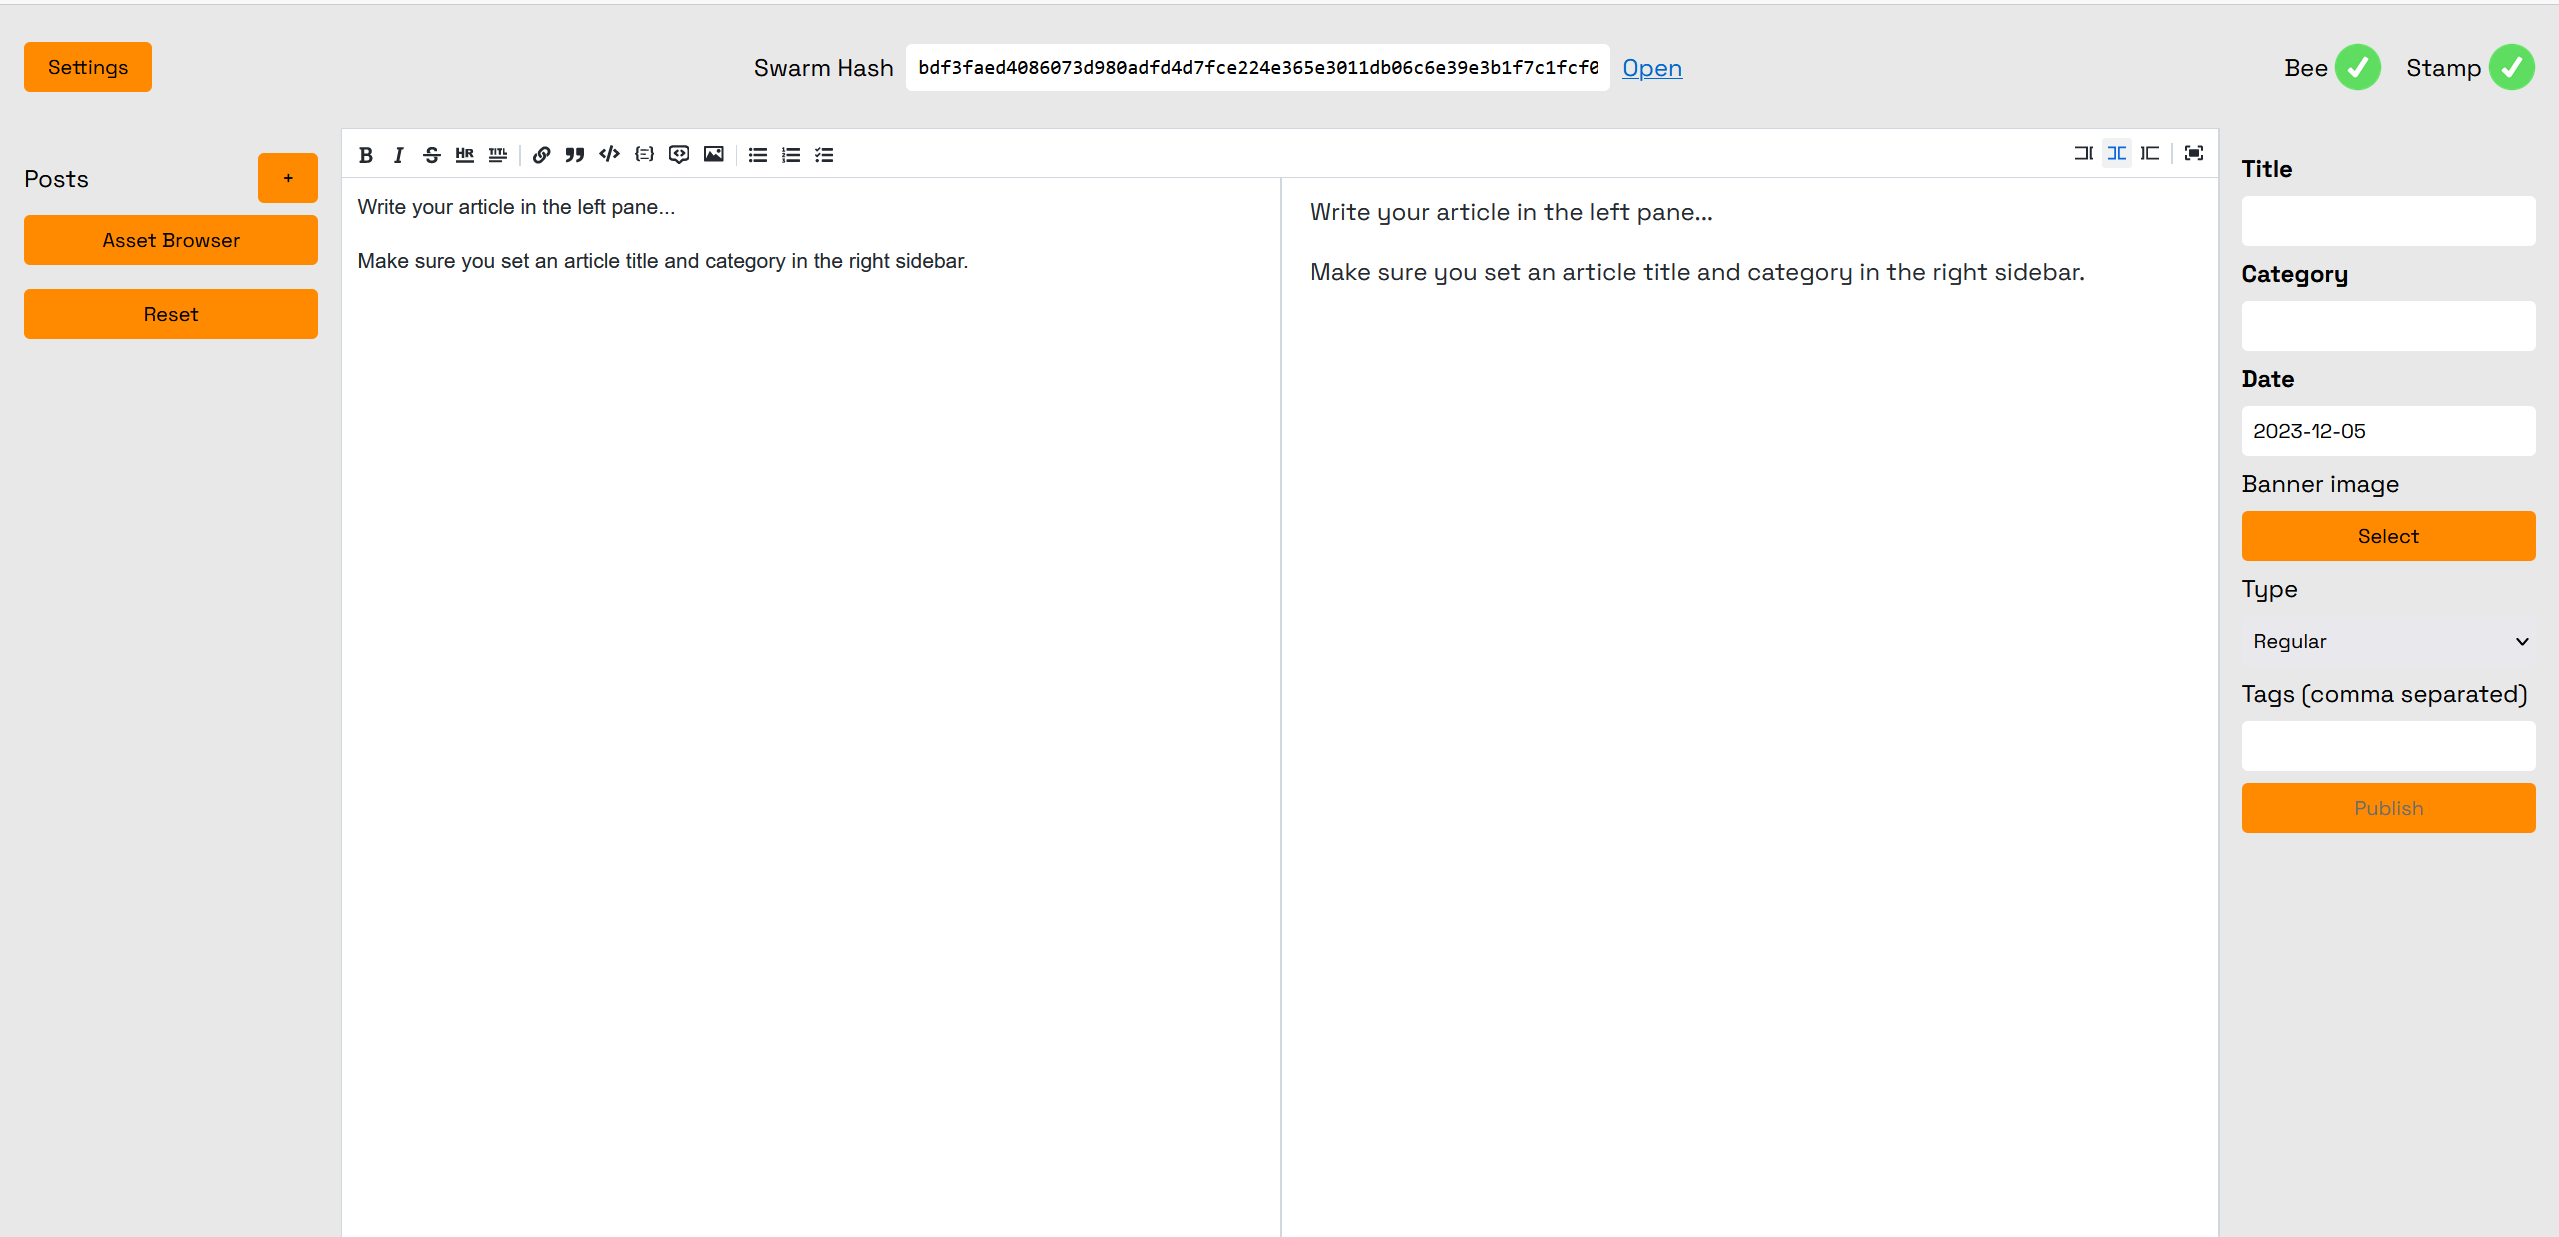
The "Swarm Hash" displayed at the top of the editor is the address for the homepage of your blog. Click "Open" to navigate to your blog. We can see now that the blog has been initialized, but no content has been uploaded.
Don't Lose Your Work!
Due to the decentralised nature of Swarm and applications built on Swarm, there are several precautions you should take which you may be unfamiliar with when coming from a Web 2.0 application.
Back-up Your Blog
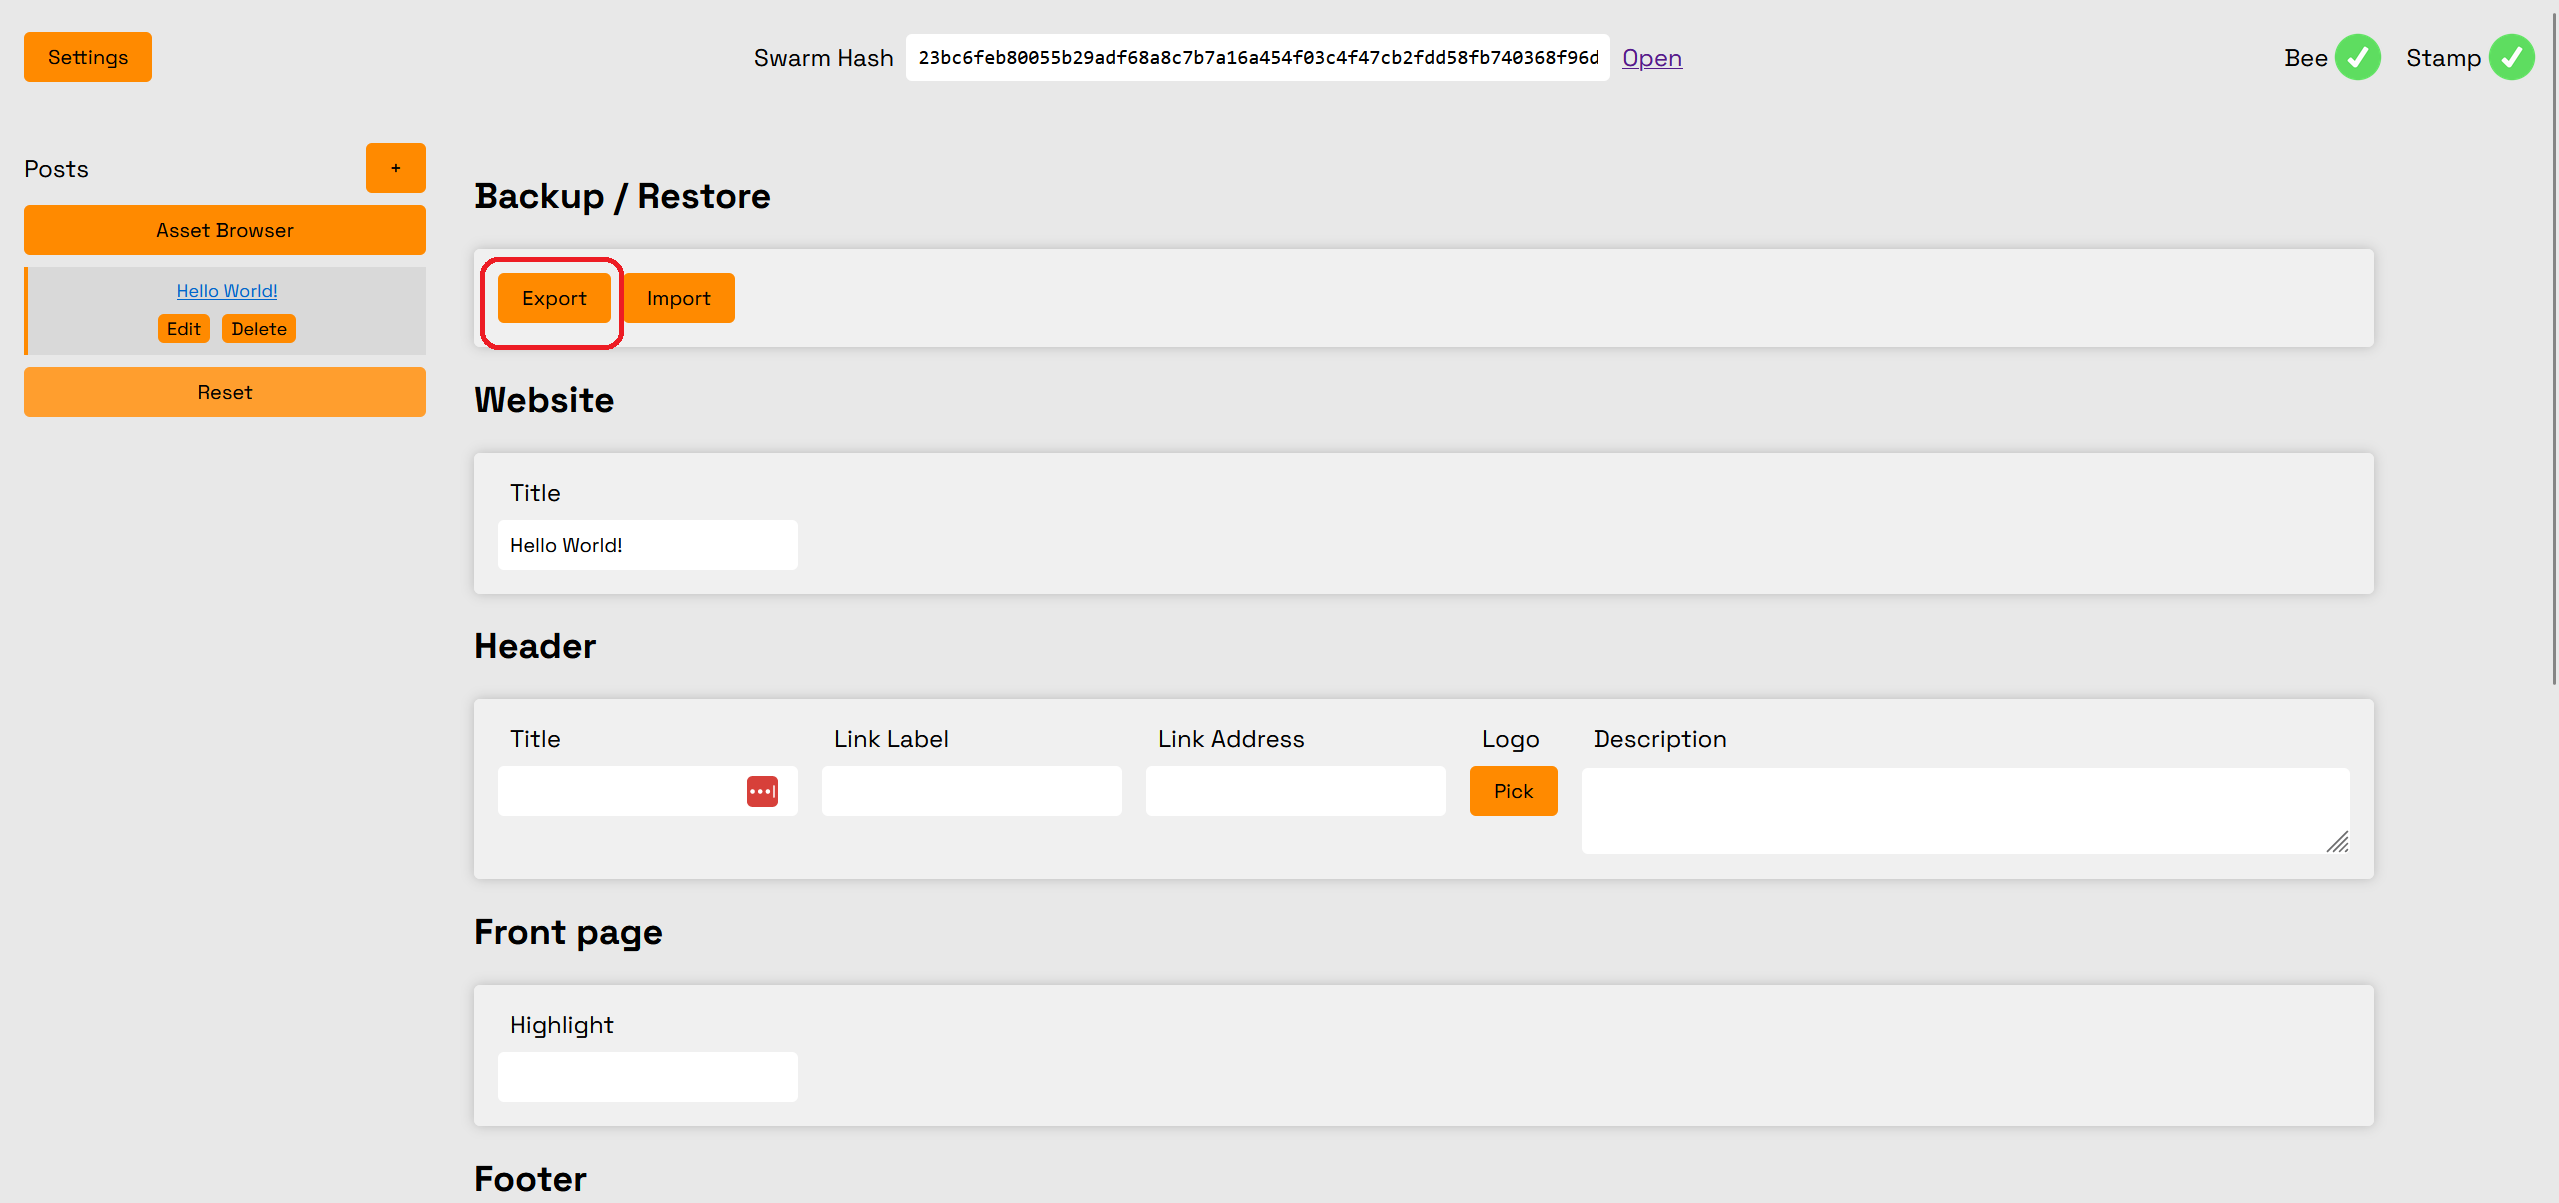
No username and password are required for editing your blog and uploading new posts. However, you do need to make sure to back up your blog in order to prevent losing access to it. You should do this after initializing your blog, and you should also back up your blog again after publishing any changes. To back up your blog, start by clicking "Settings."

From the Settings page, click "Export."
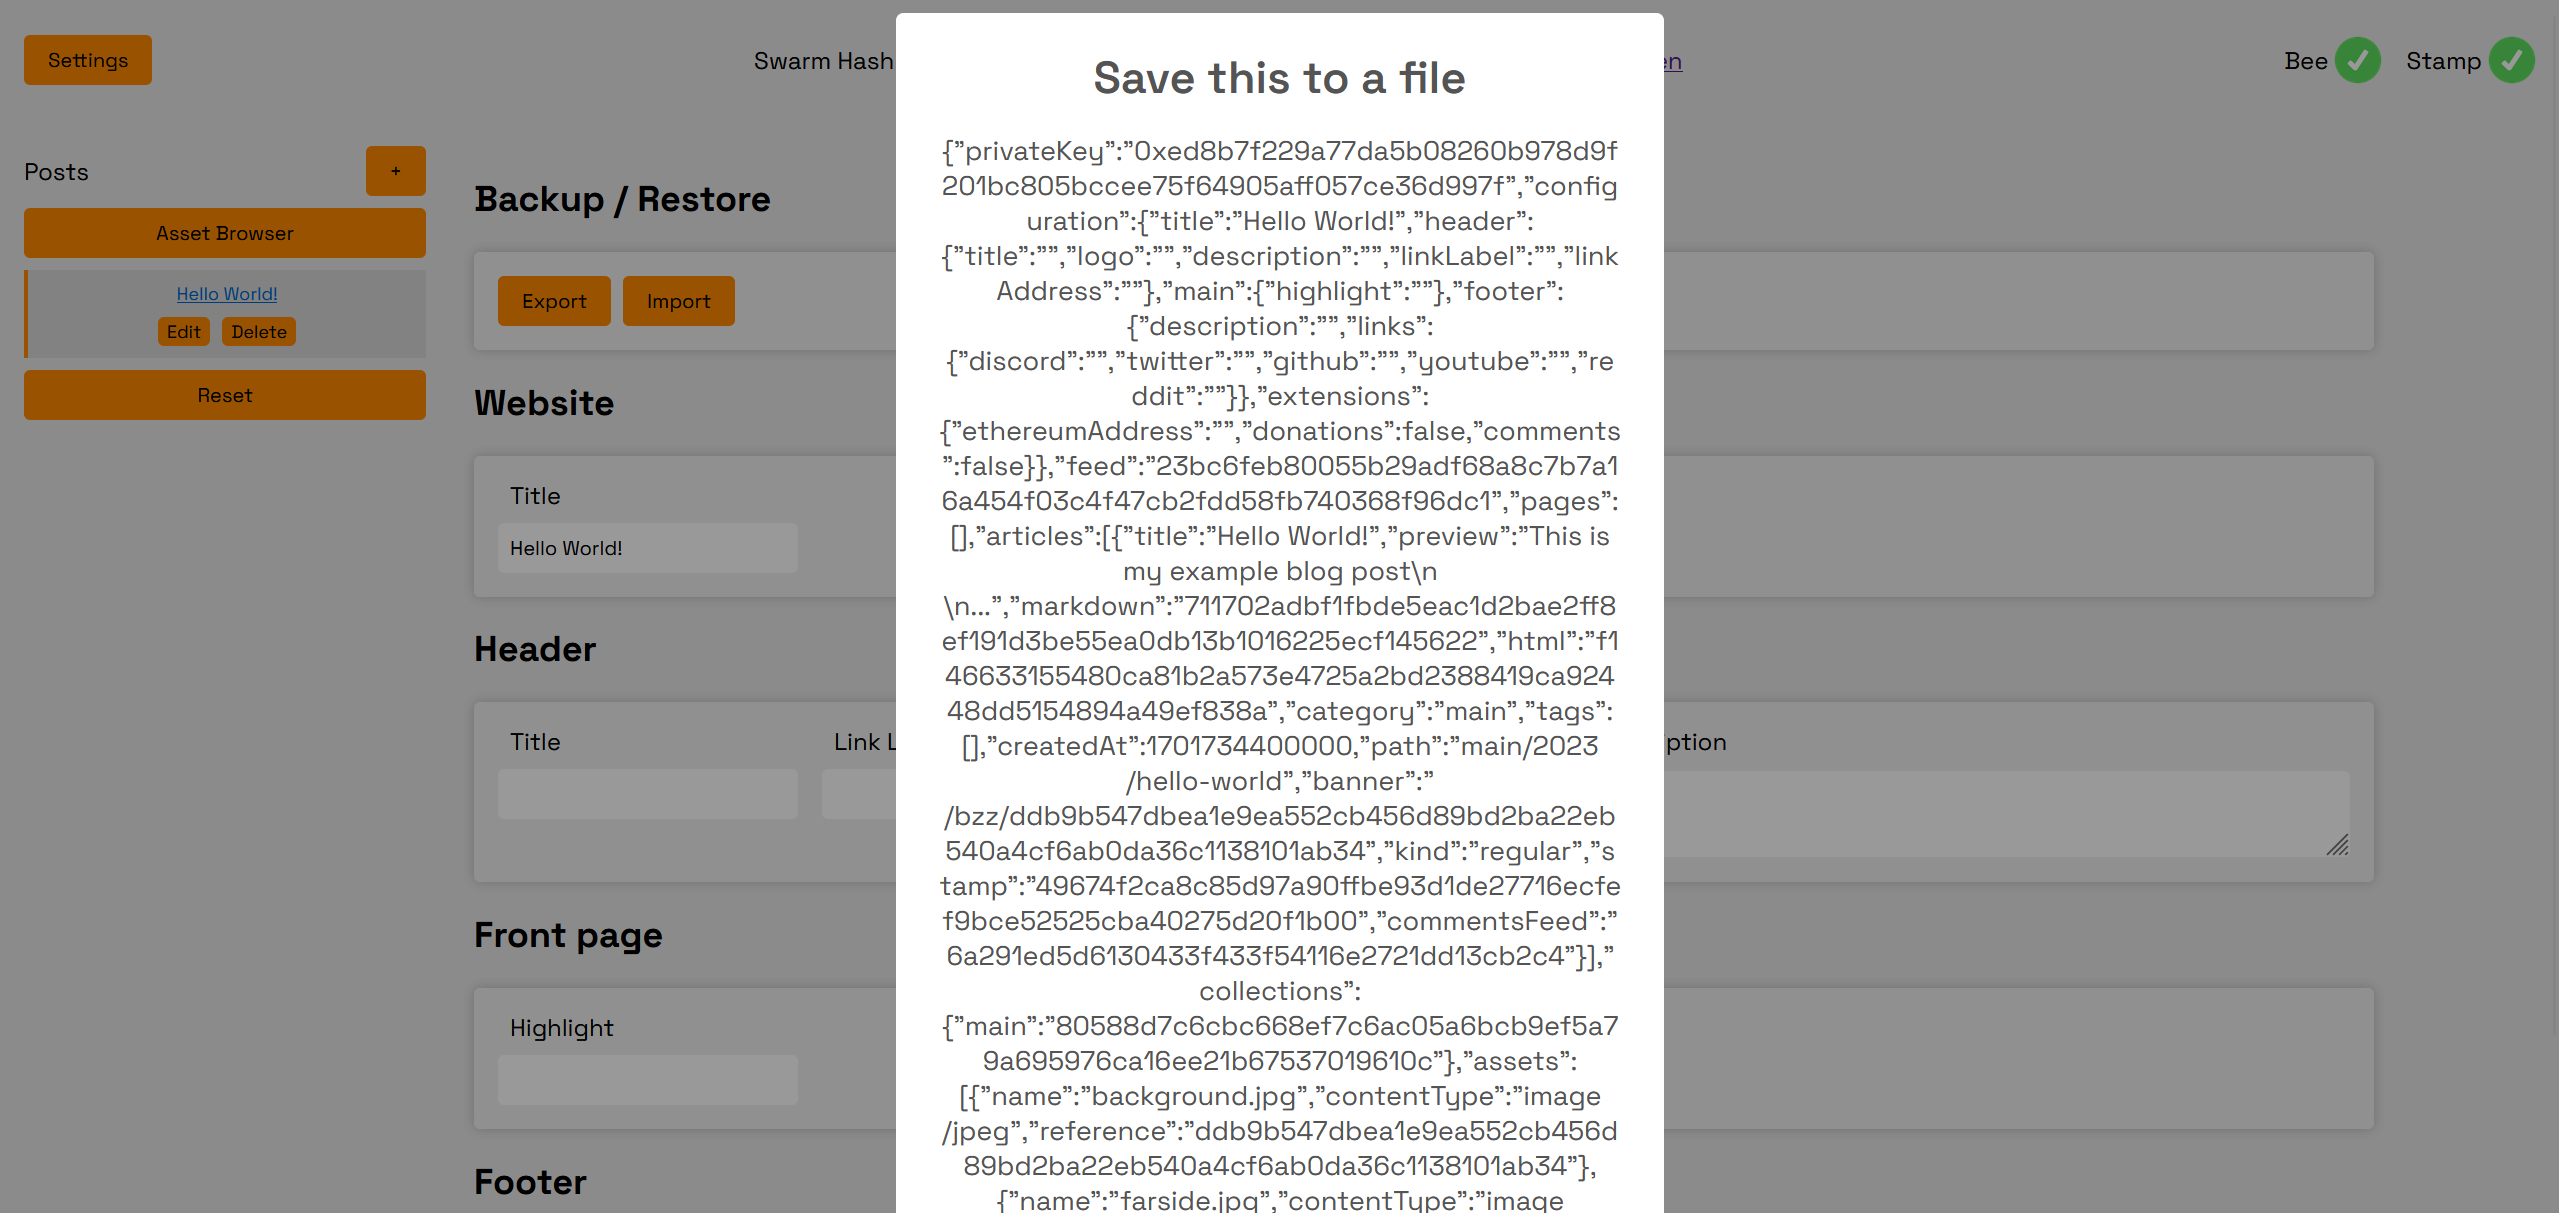
Copy the displayed text to a .json file, make certain to copy the entire displayed text. This is your backup file and is used to import your blog. Note that the backup contains the private key of your blog, so should not be revealed to anyone else.
Avoid Losing Changes (DANGER)
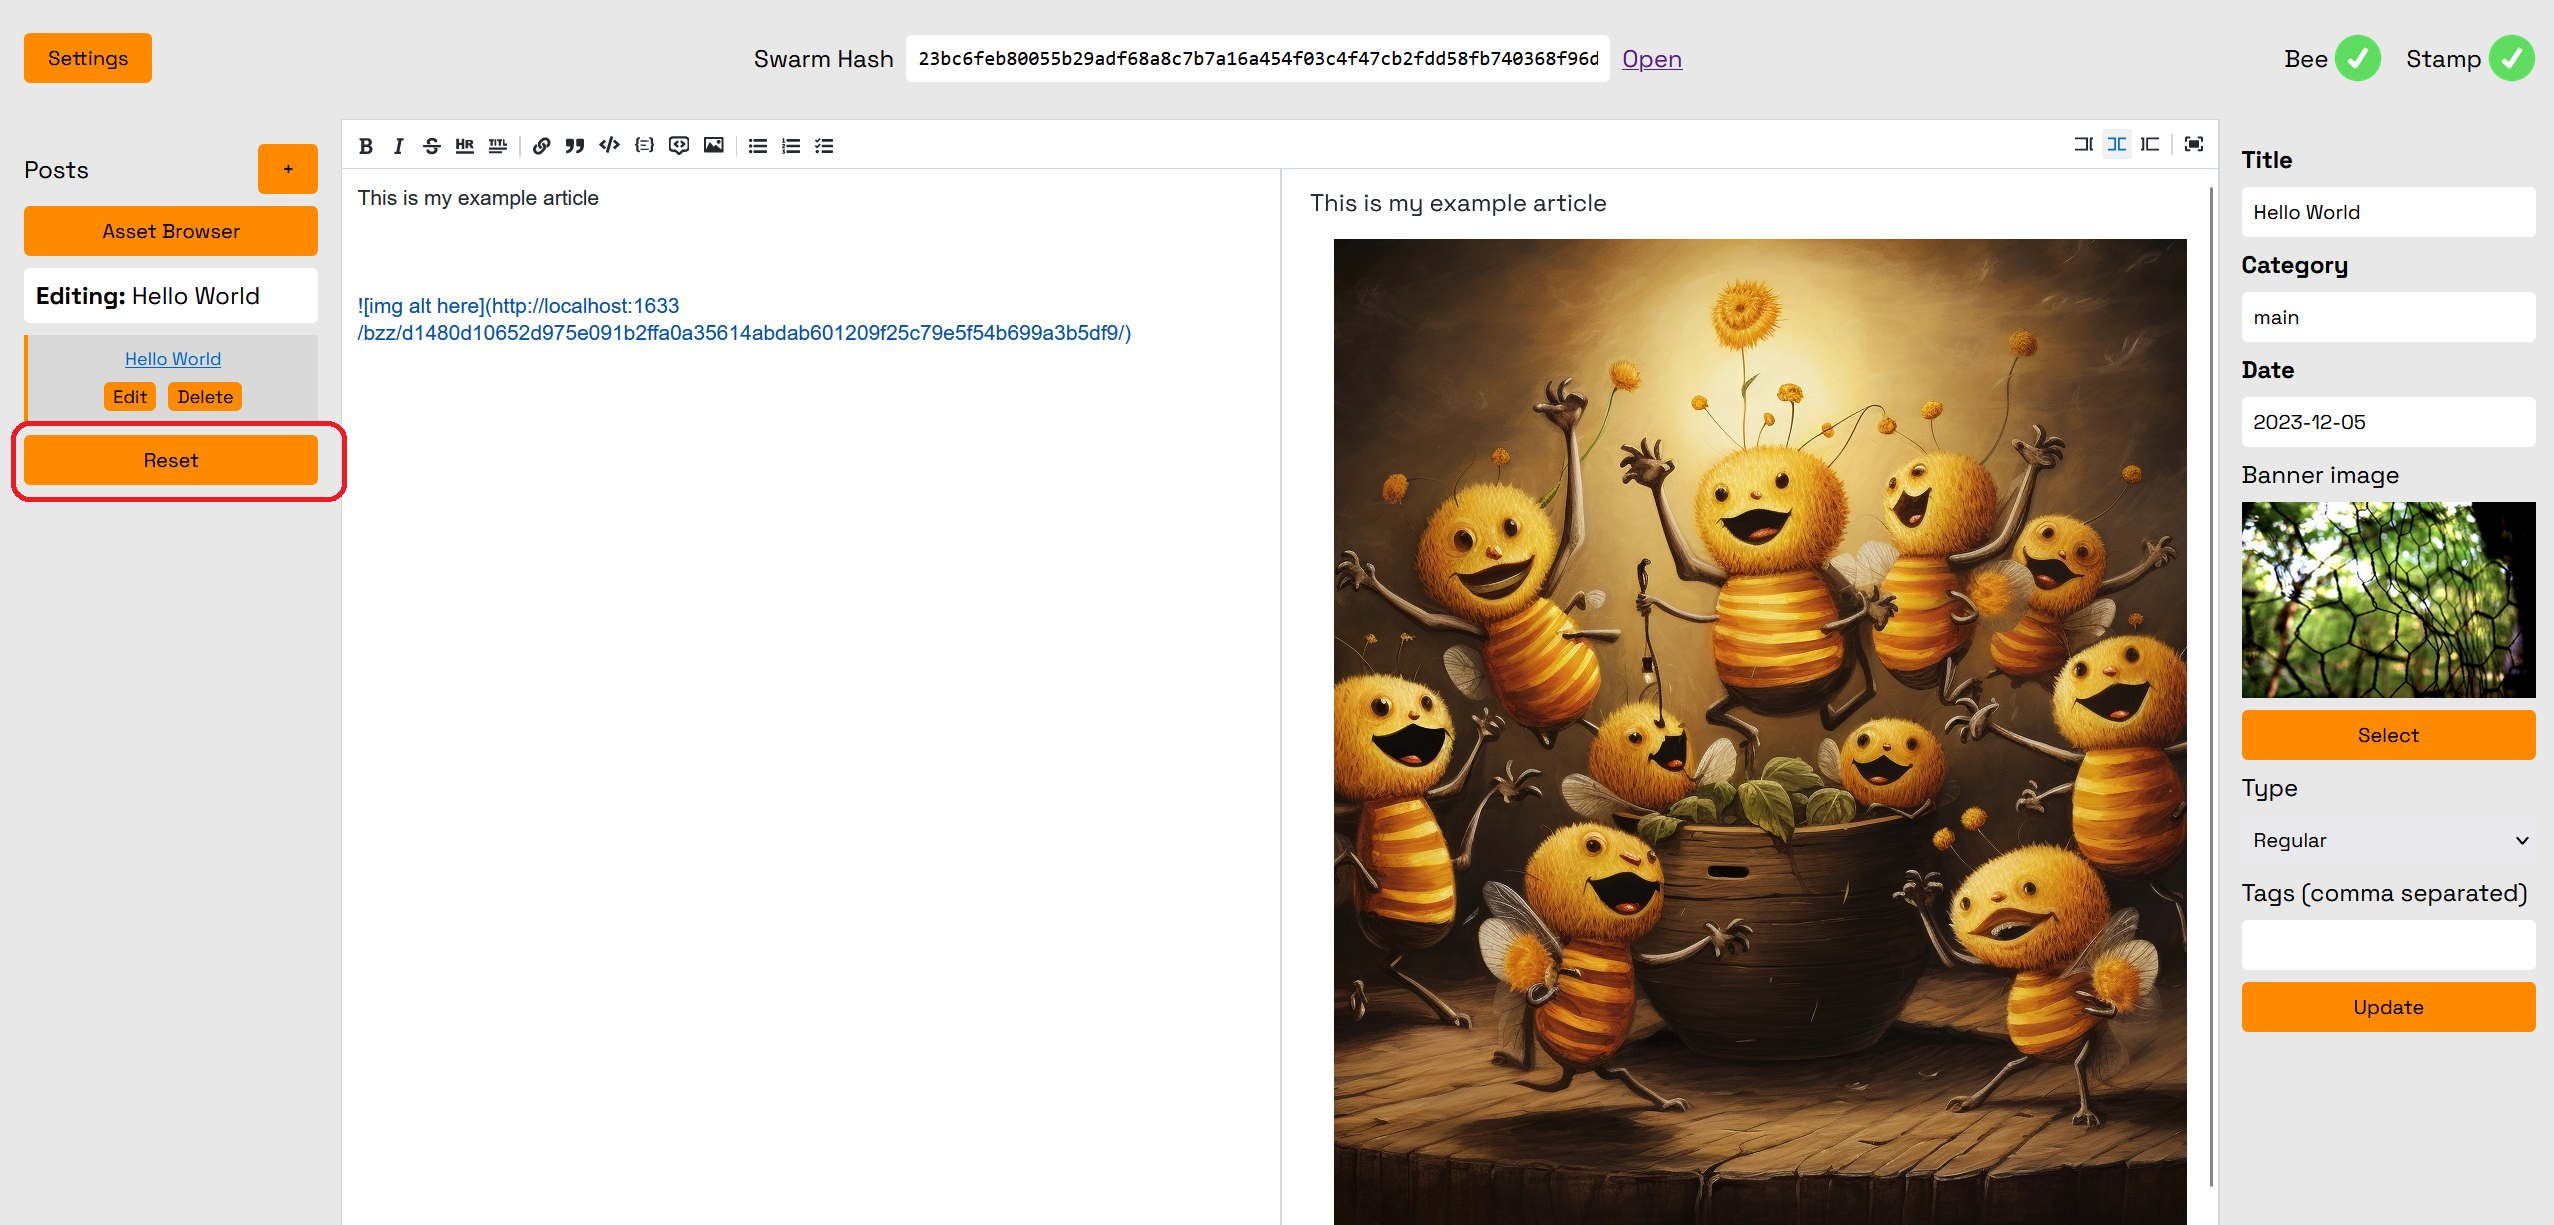
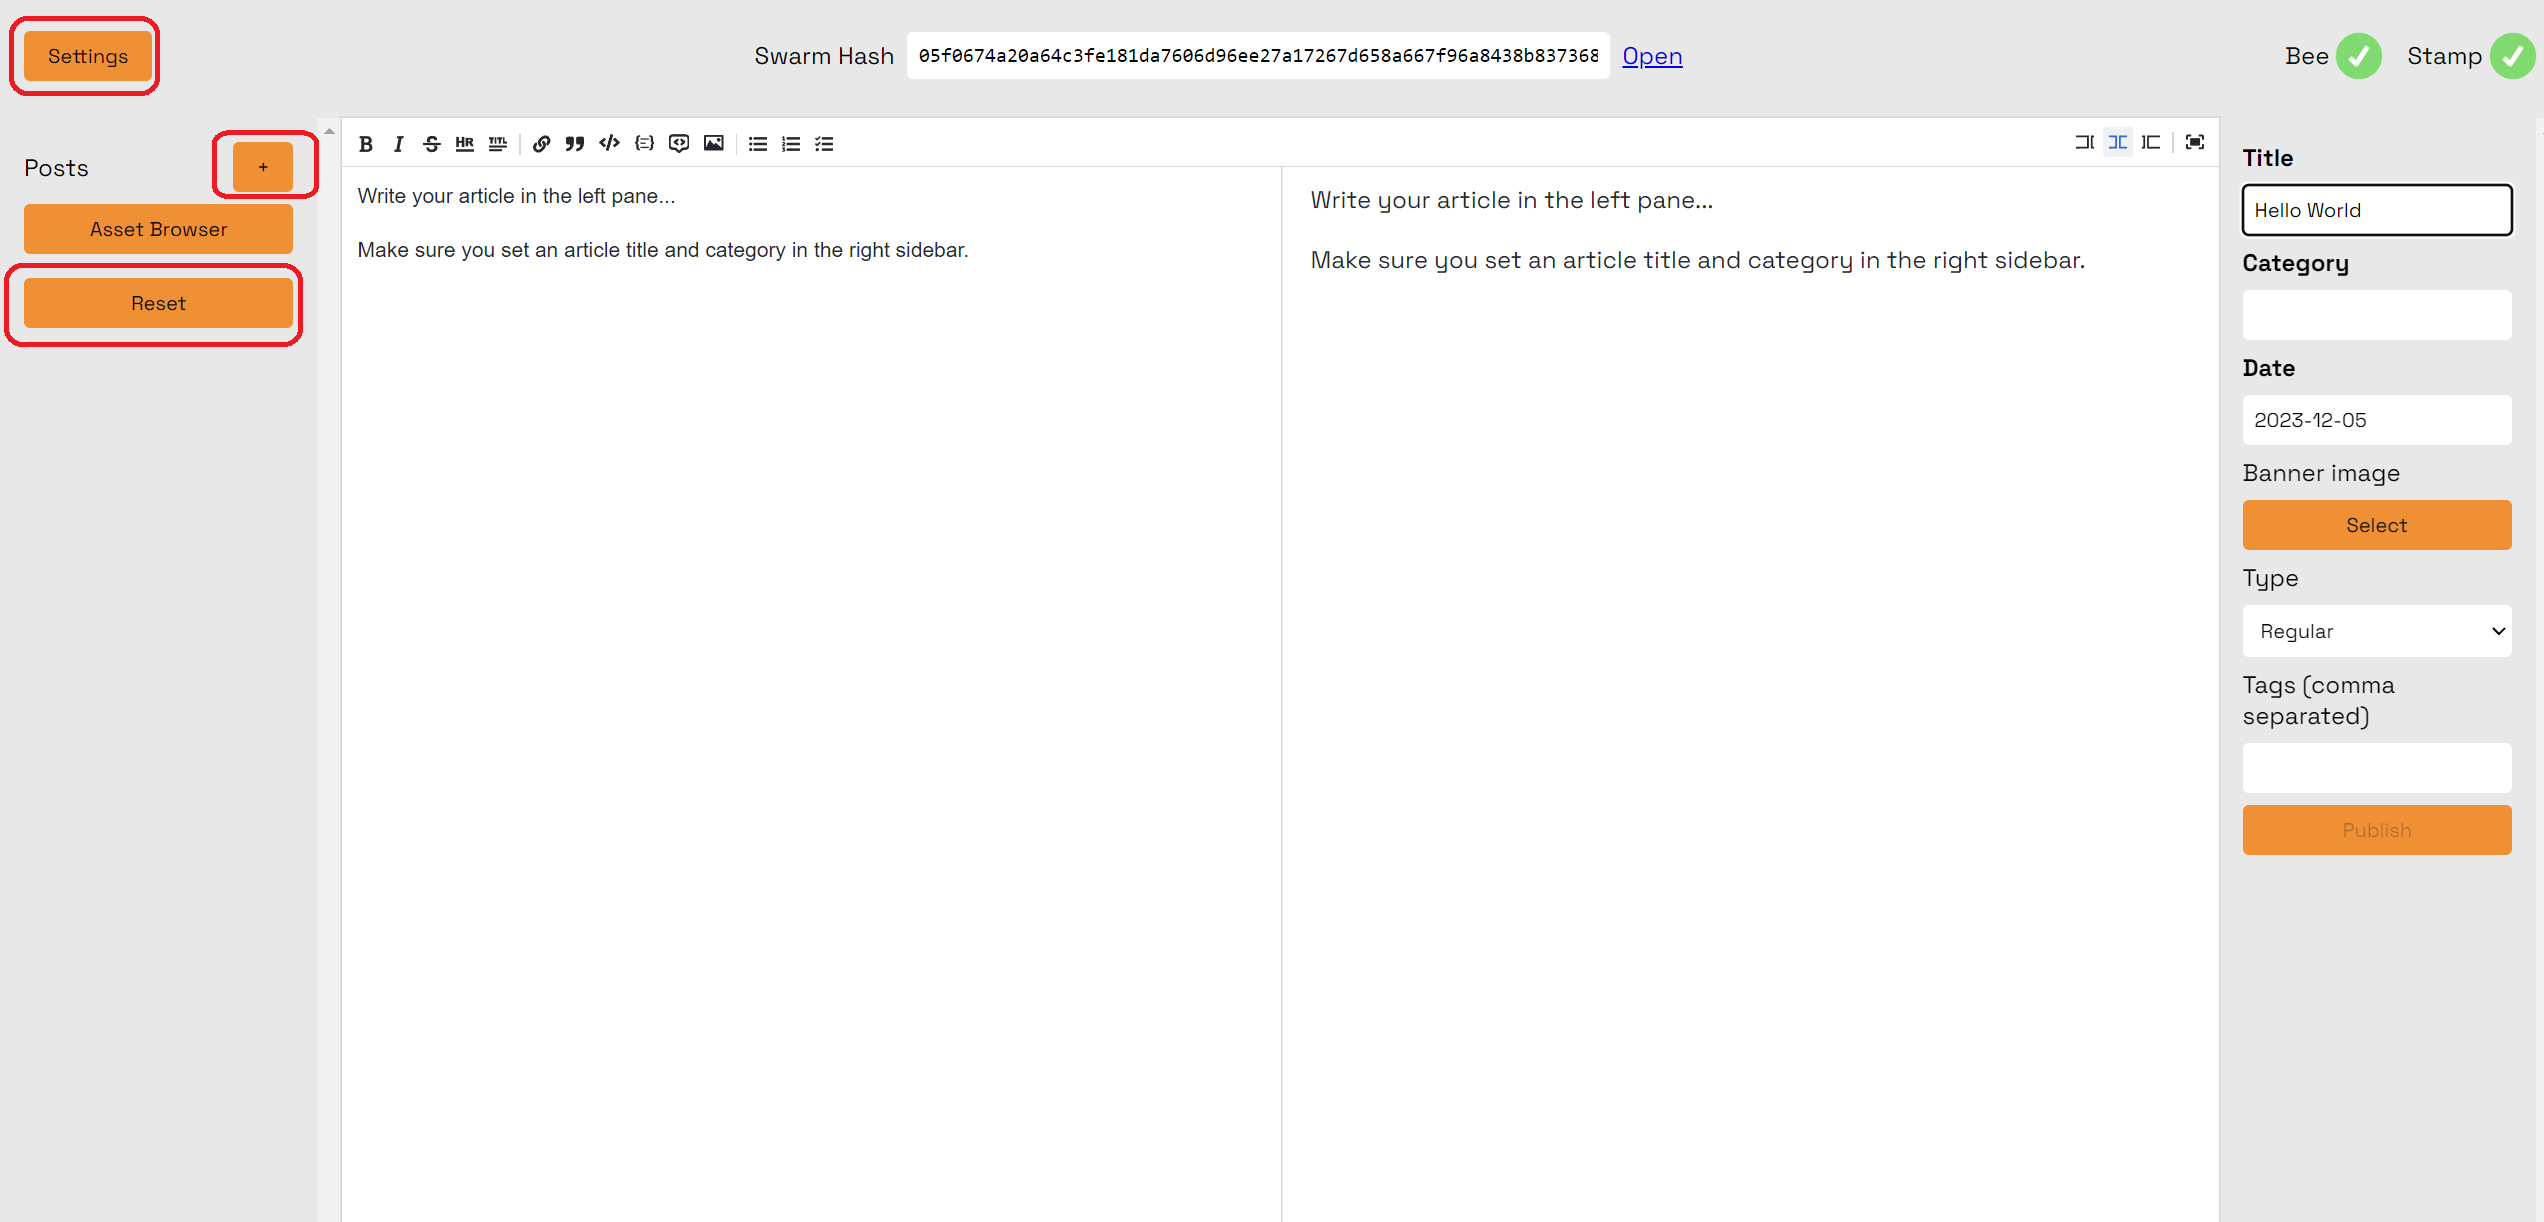
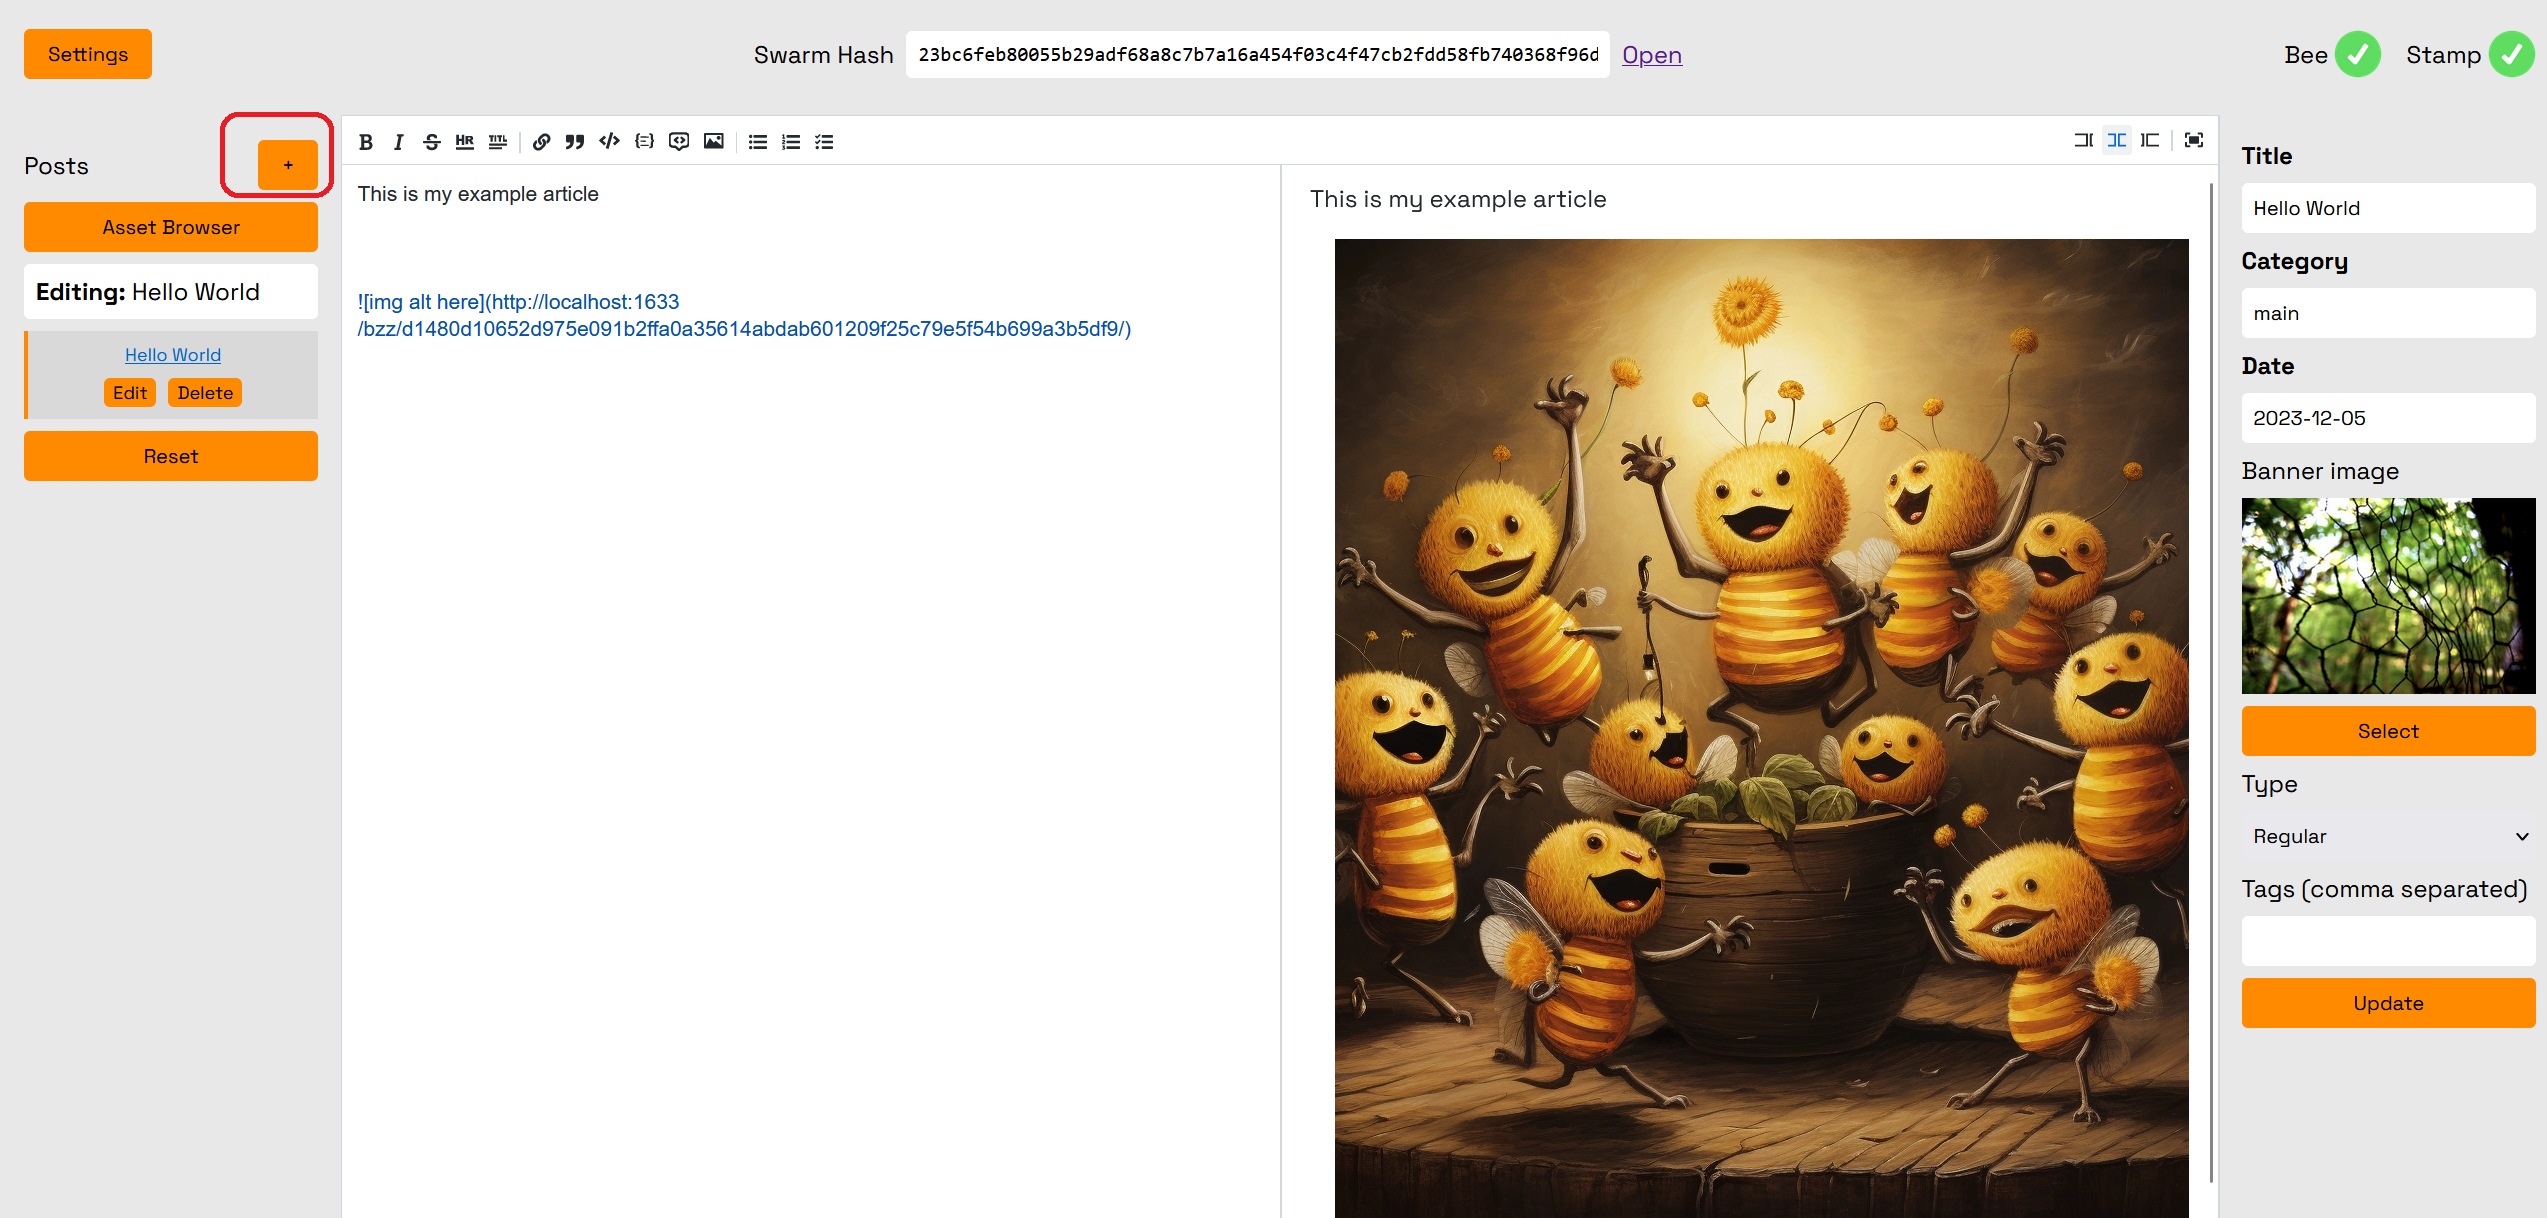
Etherjot currently does not allow you to save drafts locally, so if you navigate away from the blog post you are currently editing, you will lose any changes you have made which have not yet been uploaded to Swarm. Take note of the three UI elements highlighted in the screenshot - using the "+" or "Settings" buttons will cause you to lose any changes not uploaded to Swarm, and hitting the "Reset" button will cause you to lose everything which has not been backed up.
Hitting the "Reset" button will cause you to lose any content which has not yet been published and backed up.
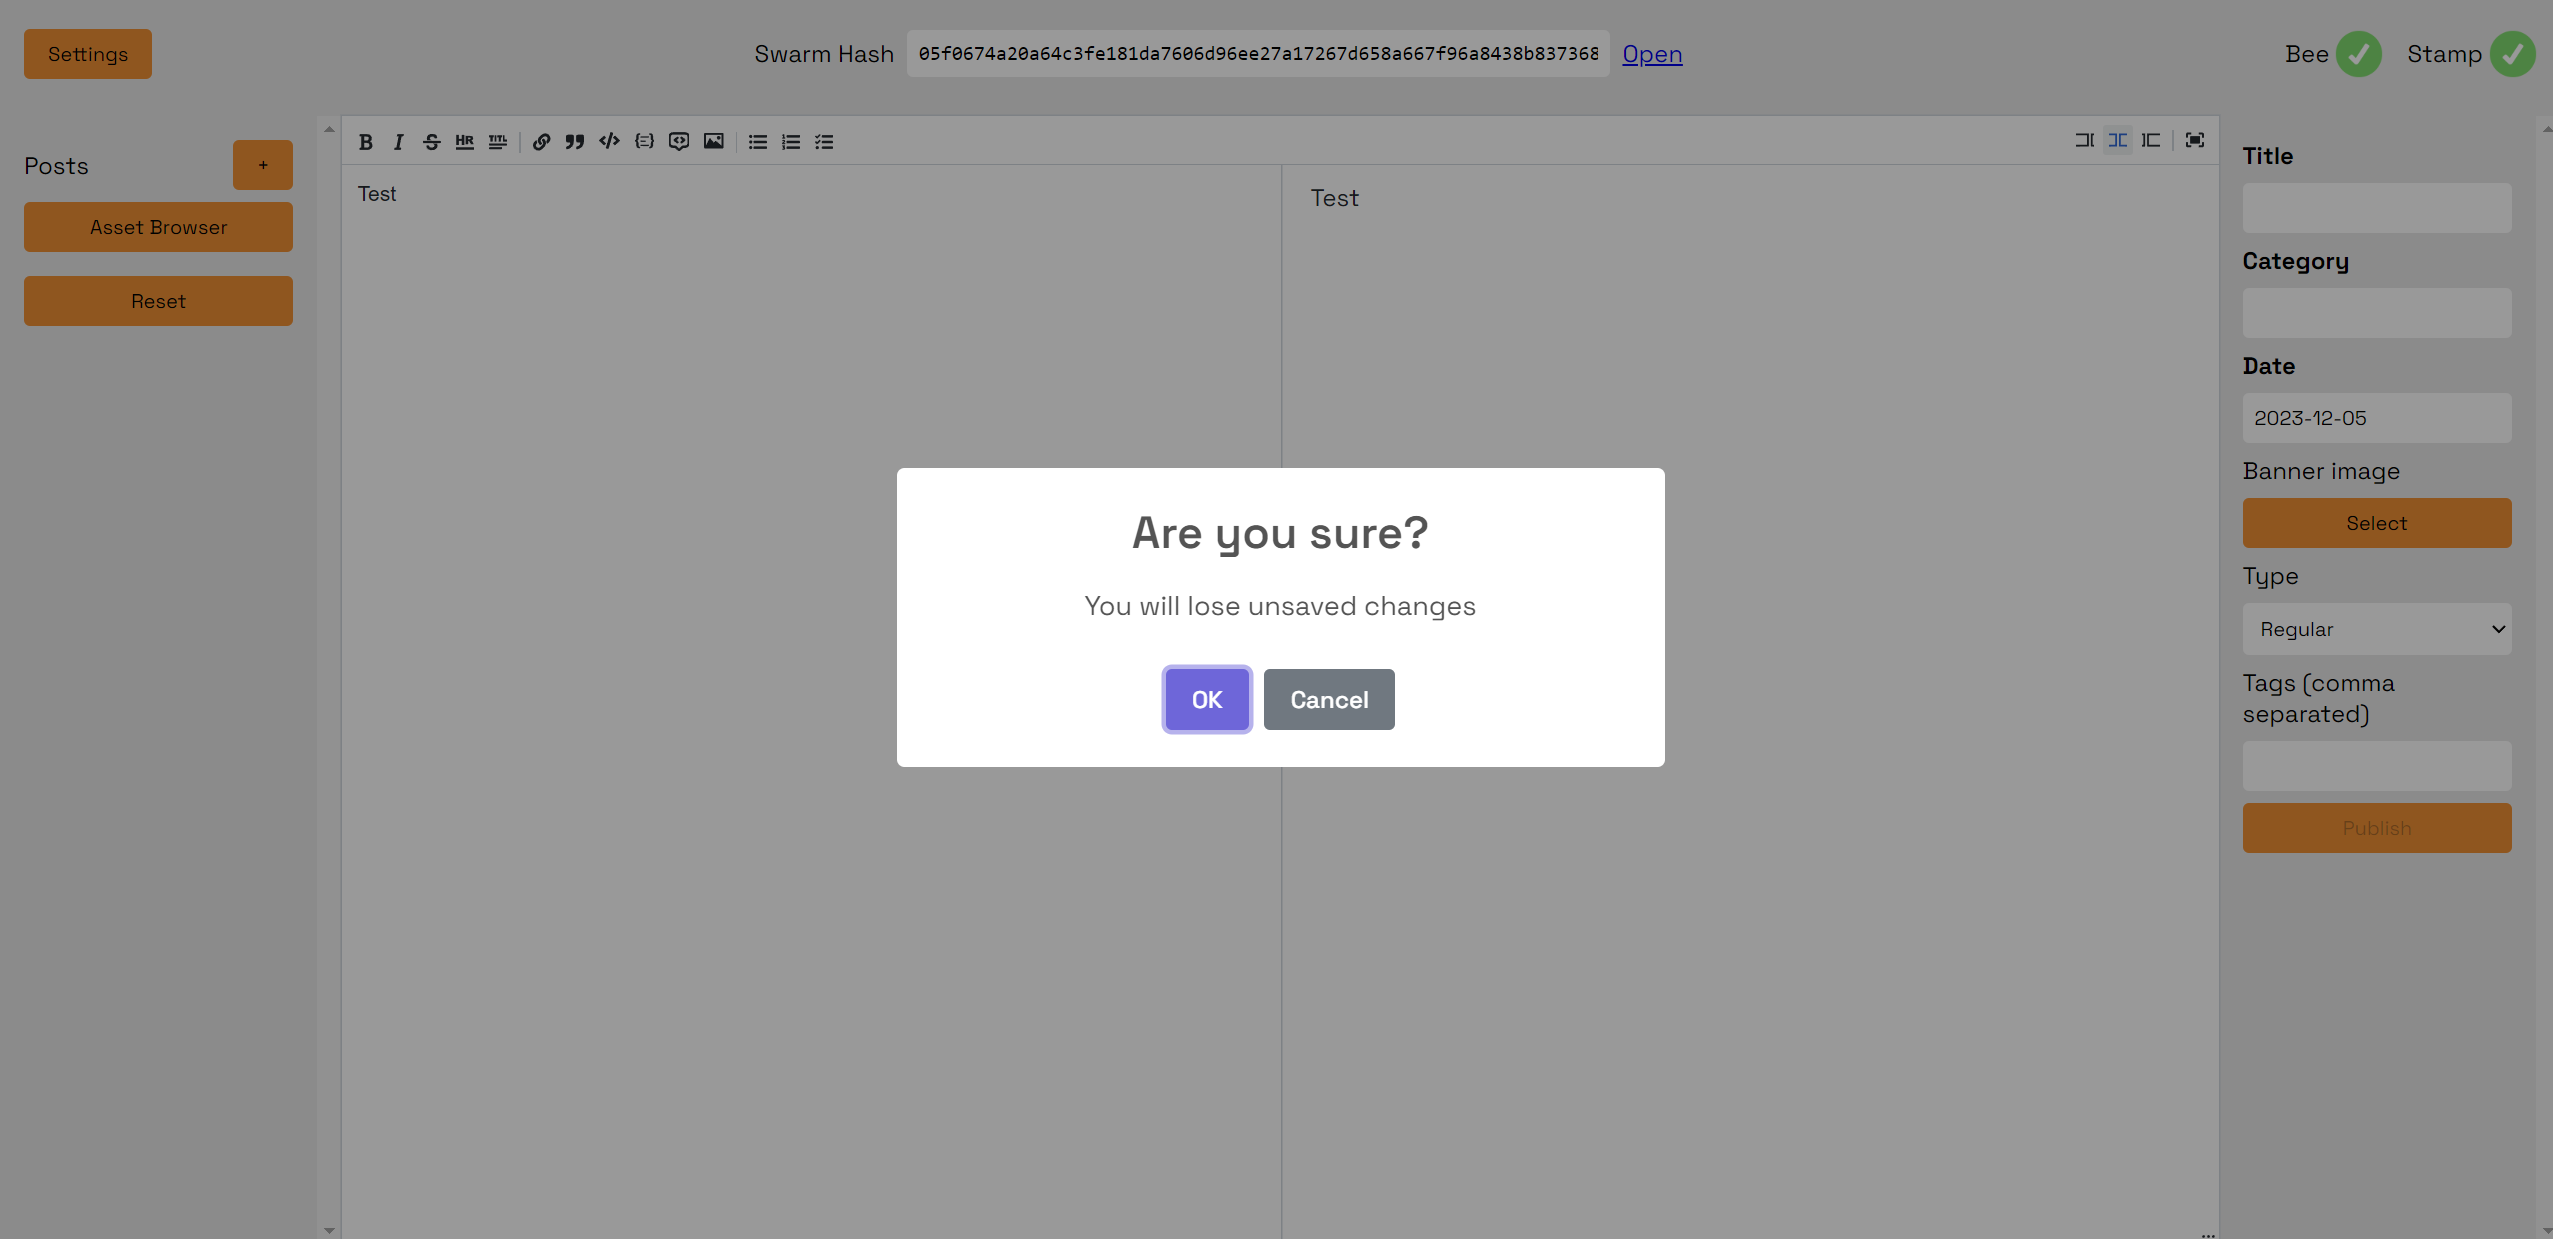
If you click the "+" button or the "Settings" button, you will see a warning to notify you that any unsaved changes will be lost.
You will NOT see a warning for refreshing your browser page, however, so be careful not to refresh your browser before publishing any changes to Swarm.
Writing Your Blog
Add Some Text
The text editor for your blog has two main panels. The one on the left is where you can write your content using Markdown. On the right side is where you can see a preview of your rendered markdown as it will appear to a visitor to your blog.
Let's fill in some content and examine the preview.
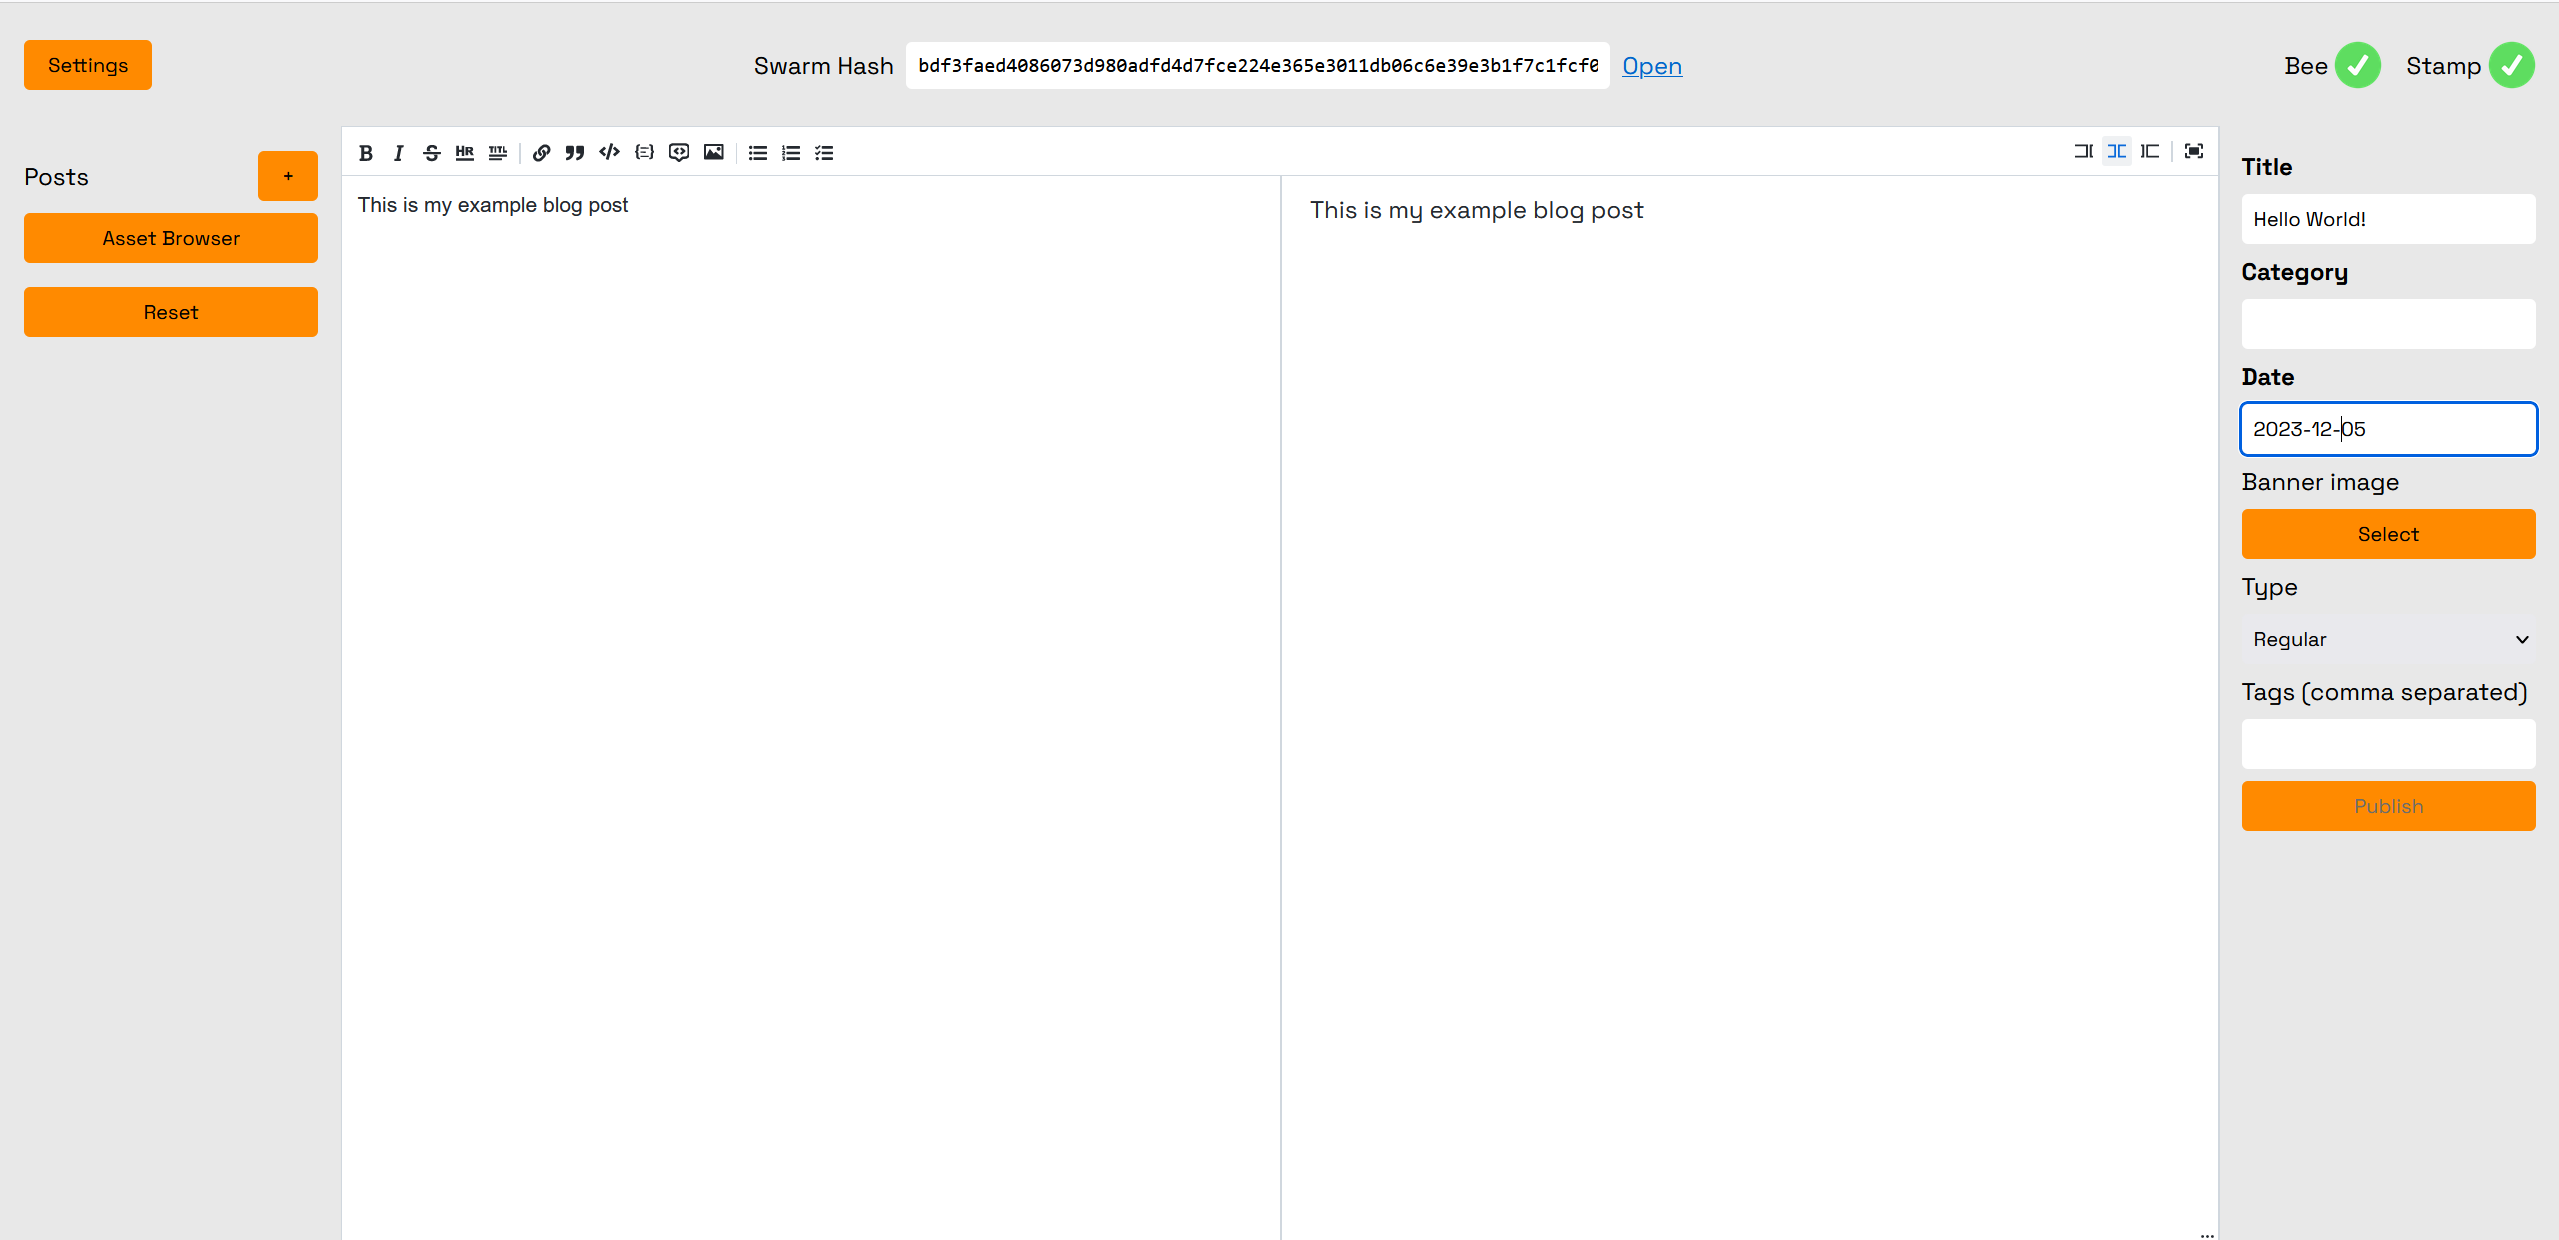
Here you can see the new content we just wrote, note that there is no auto-save functionality, so any changes we make will not be saved until we click "Publish" to upload the changes to Swarm. However you will see that the "Publish" button is greyed currently, as we have not yet filled in all the required fields for publishing.
Add Media Files
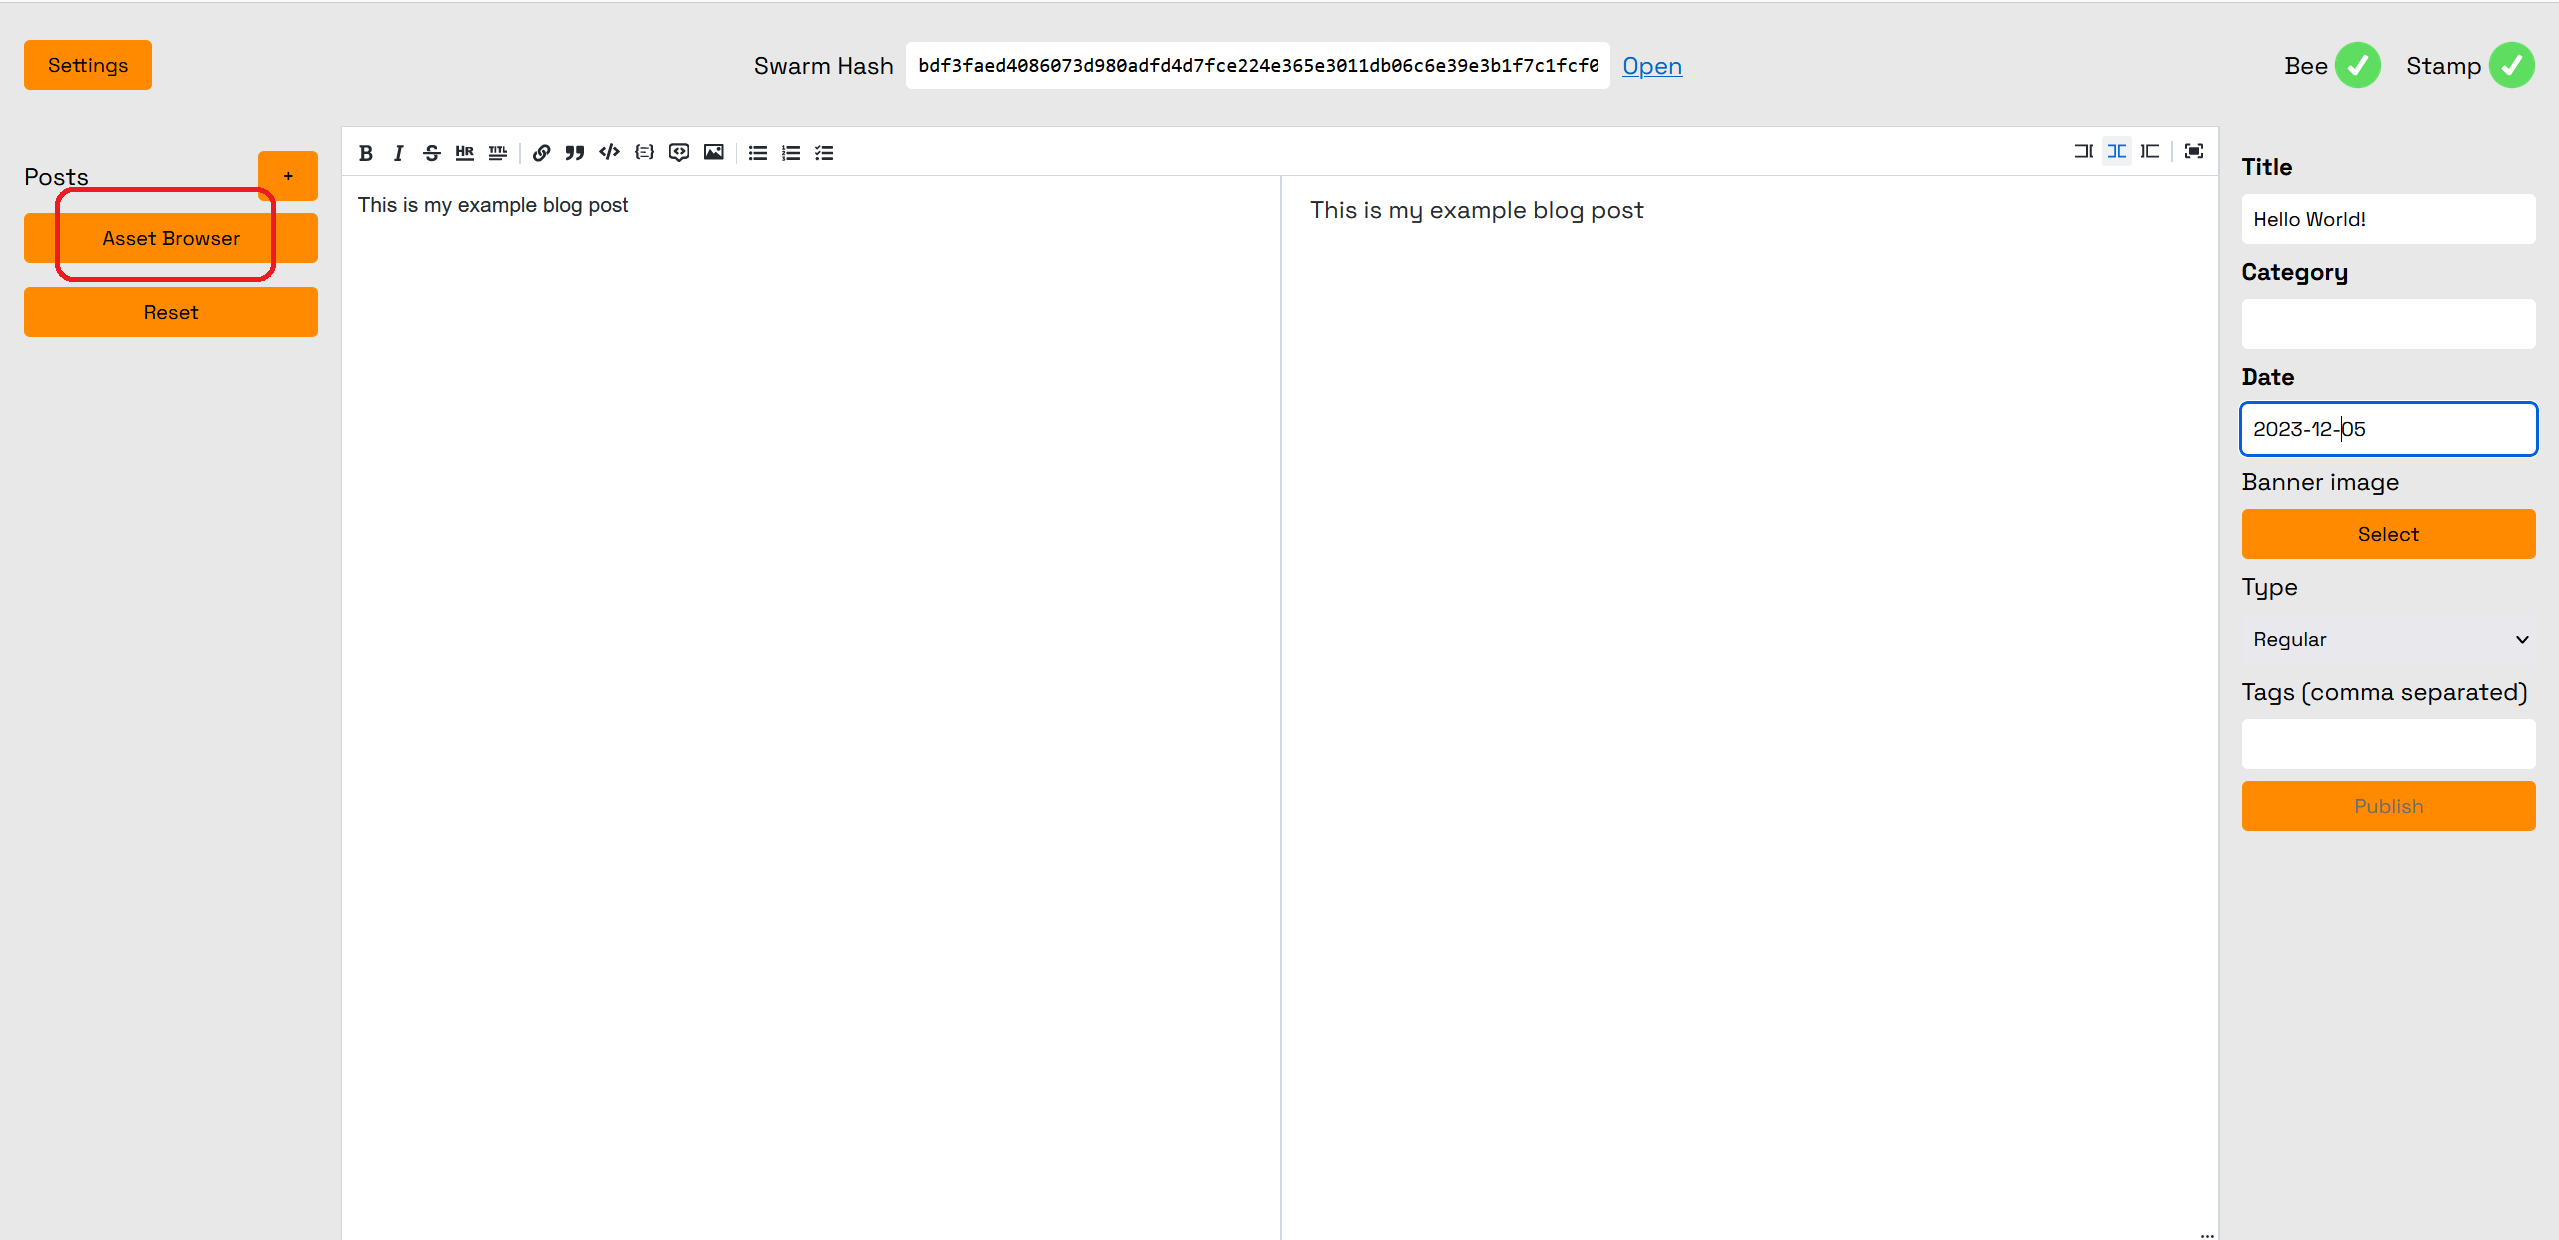
Next let's try to add an image. To get started, we need to click the "Asset Browser" button.
This will open up the Asset Browser where you can manage your blog assets such as images.
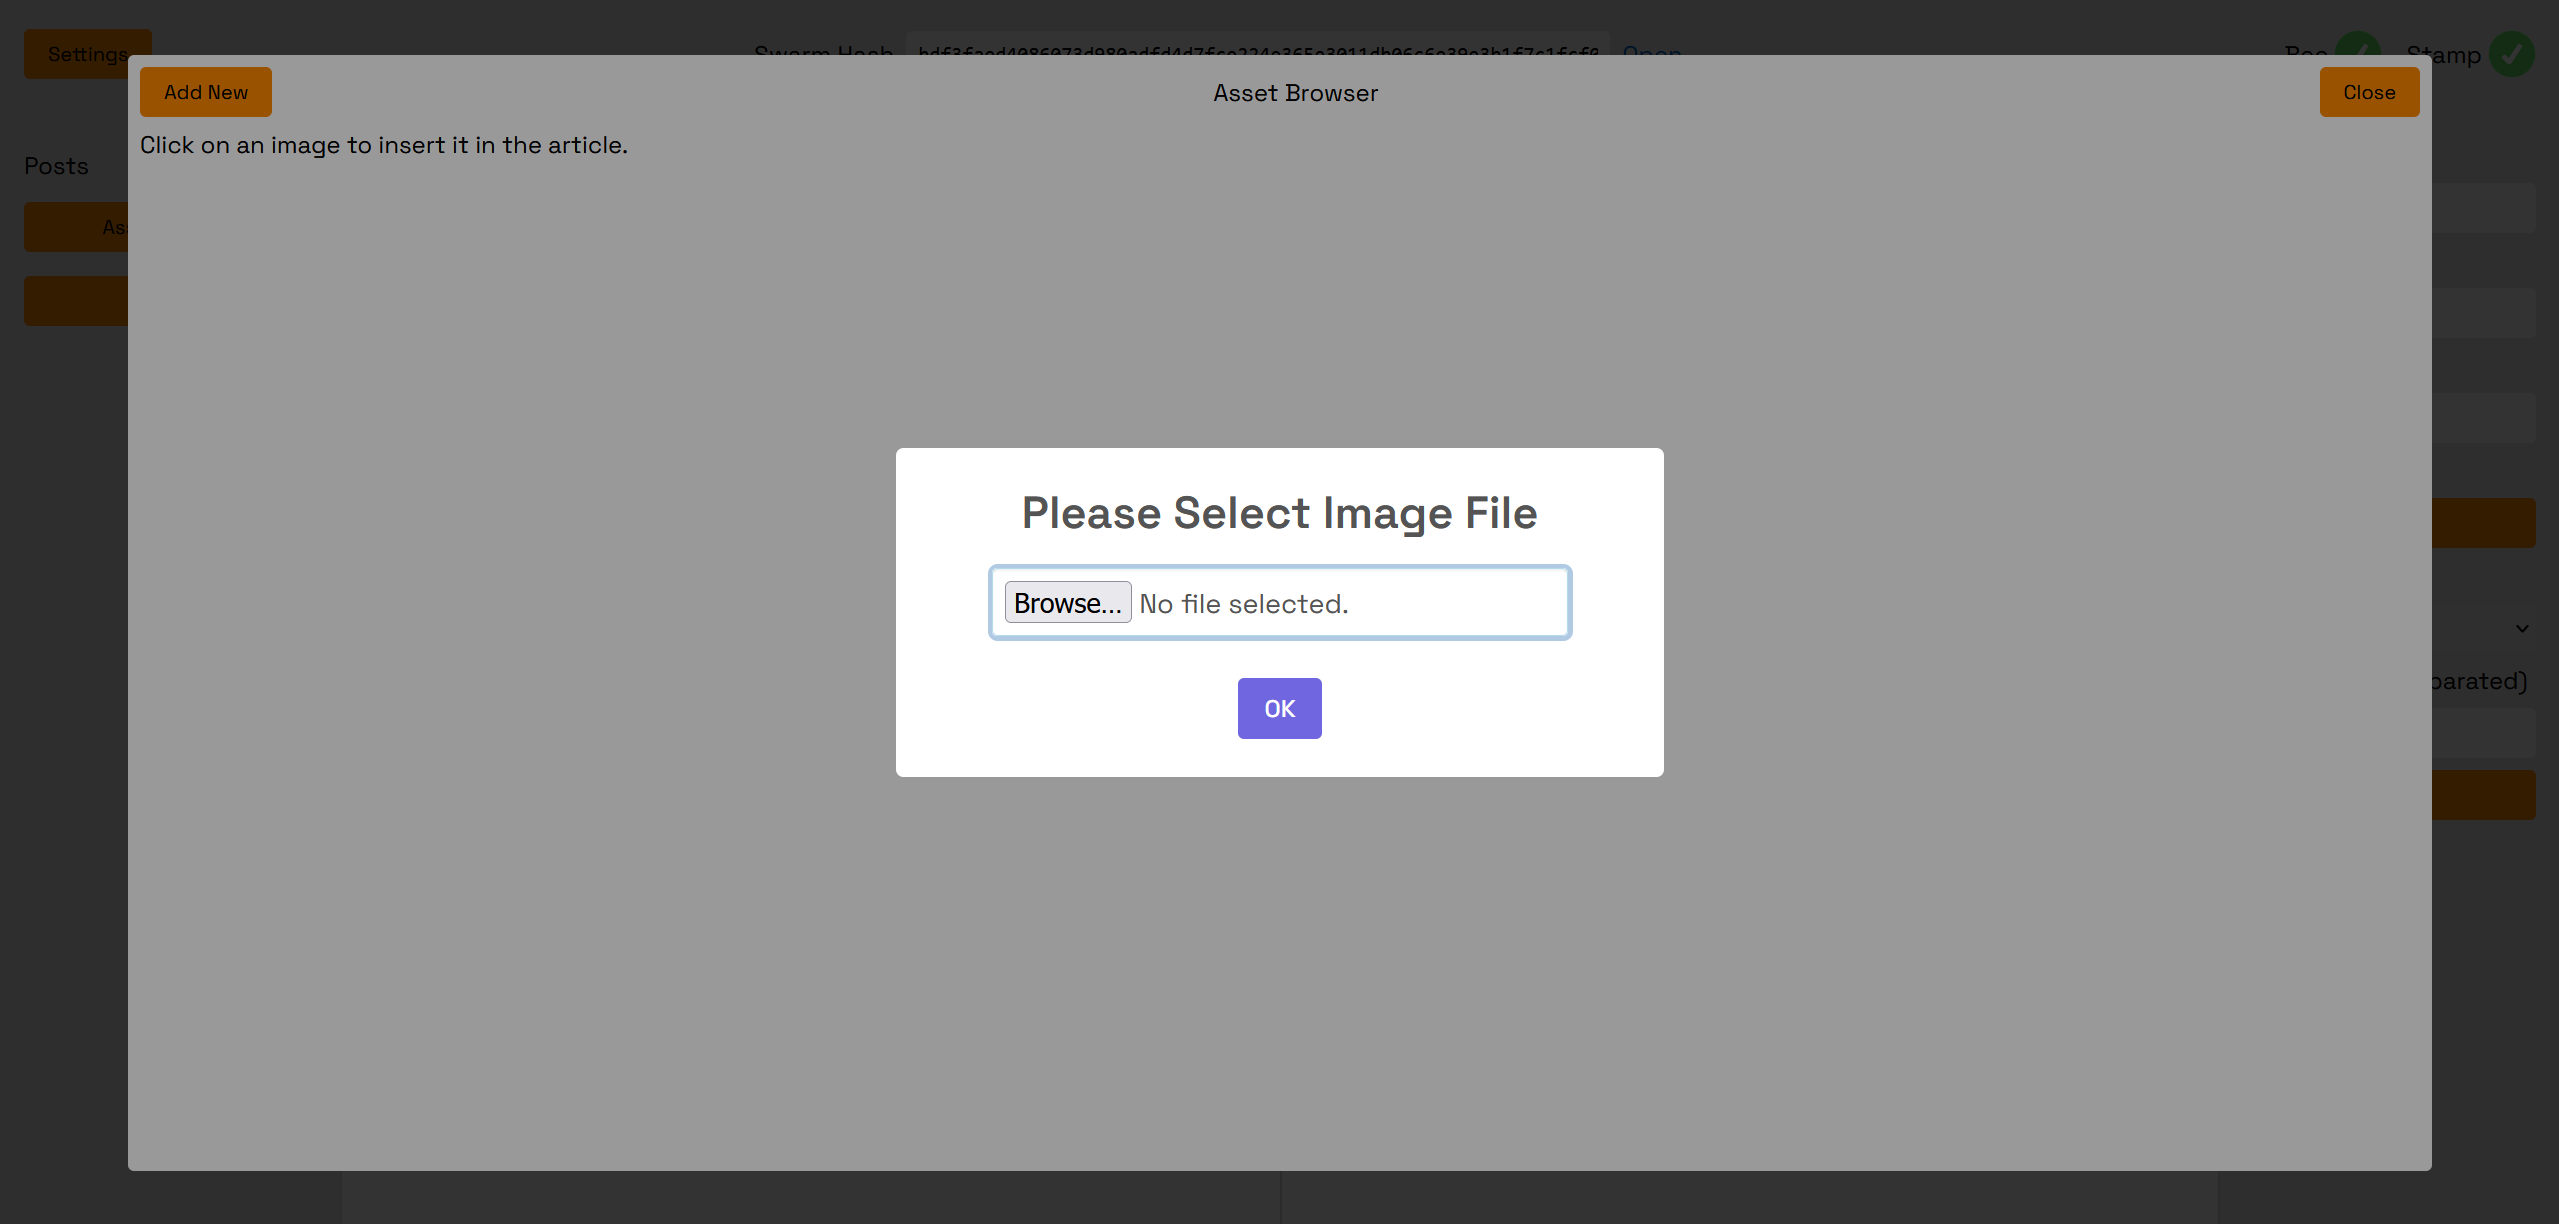
To upload your file, click the "browse" button and choose the file you wish to upload.
In addition to images, video and audio files may also be uploaded, however currently the URL to the Swarm hash must be manually inserted into html <video> and <audio> tags such as:
<video controls width="630" height="300" src="http://localhost:1633/bzz/f8abc6161fb6305437d2bf514d3a34ce32c234eddad1ca907d438a6f4f43183b/"></video>

<audio controls width="630" height="300" src="http://localhost:1633/bzz/7613d1b9e5d409301b6aaaf7b6a41f0457cd4130471d87de6b49bced70aaafce/"></audio>
This will become automatic in a near future update to Etherjot Web.
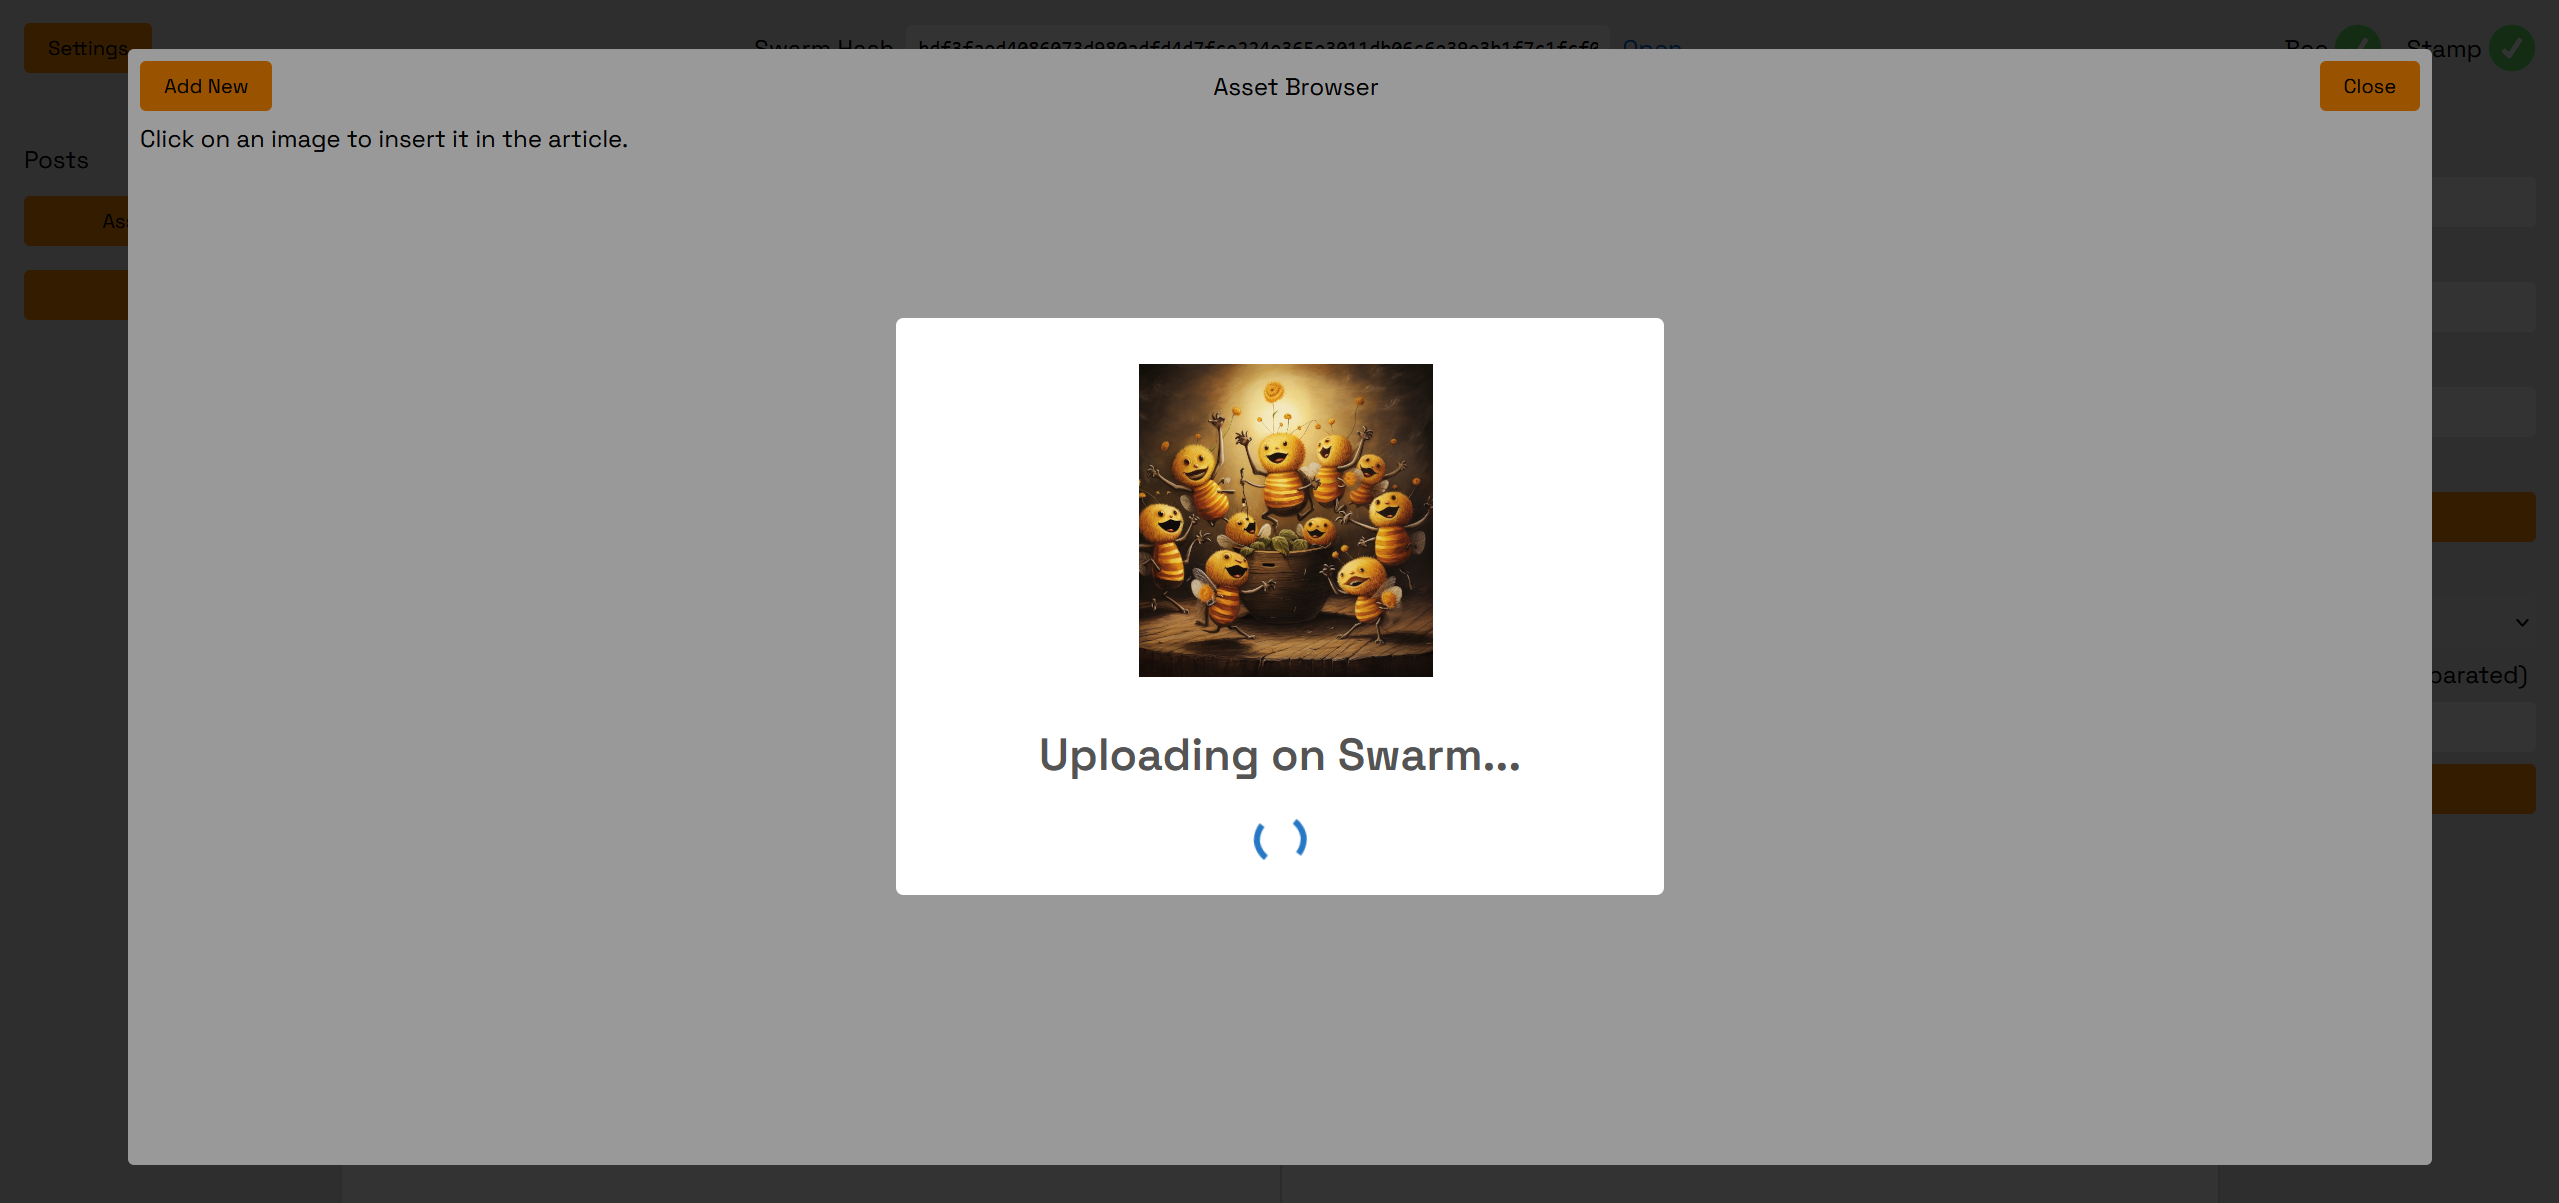
After selecting your file and clicking "OK", your file will be uploaded to Swarm, this will take a few moments.
Once it has finished uploading, you will then be able to view your file in the Asset Browser.
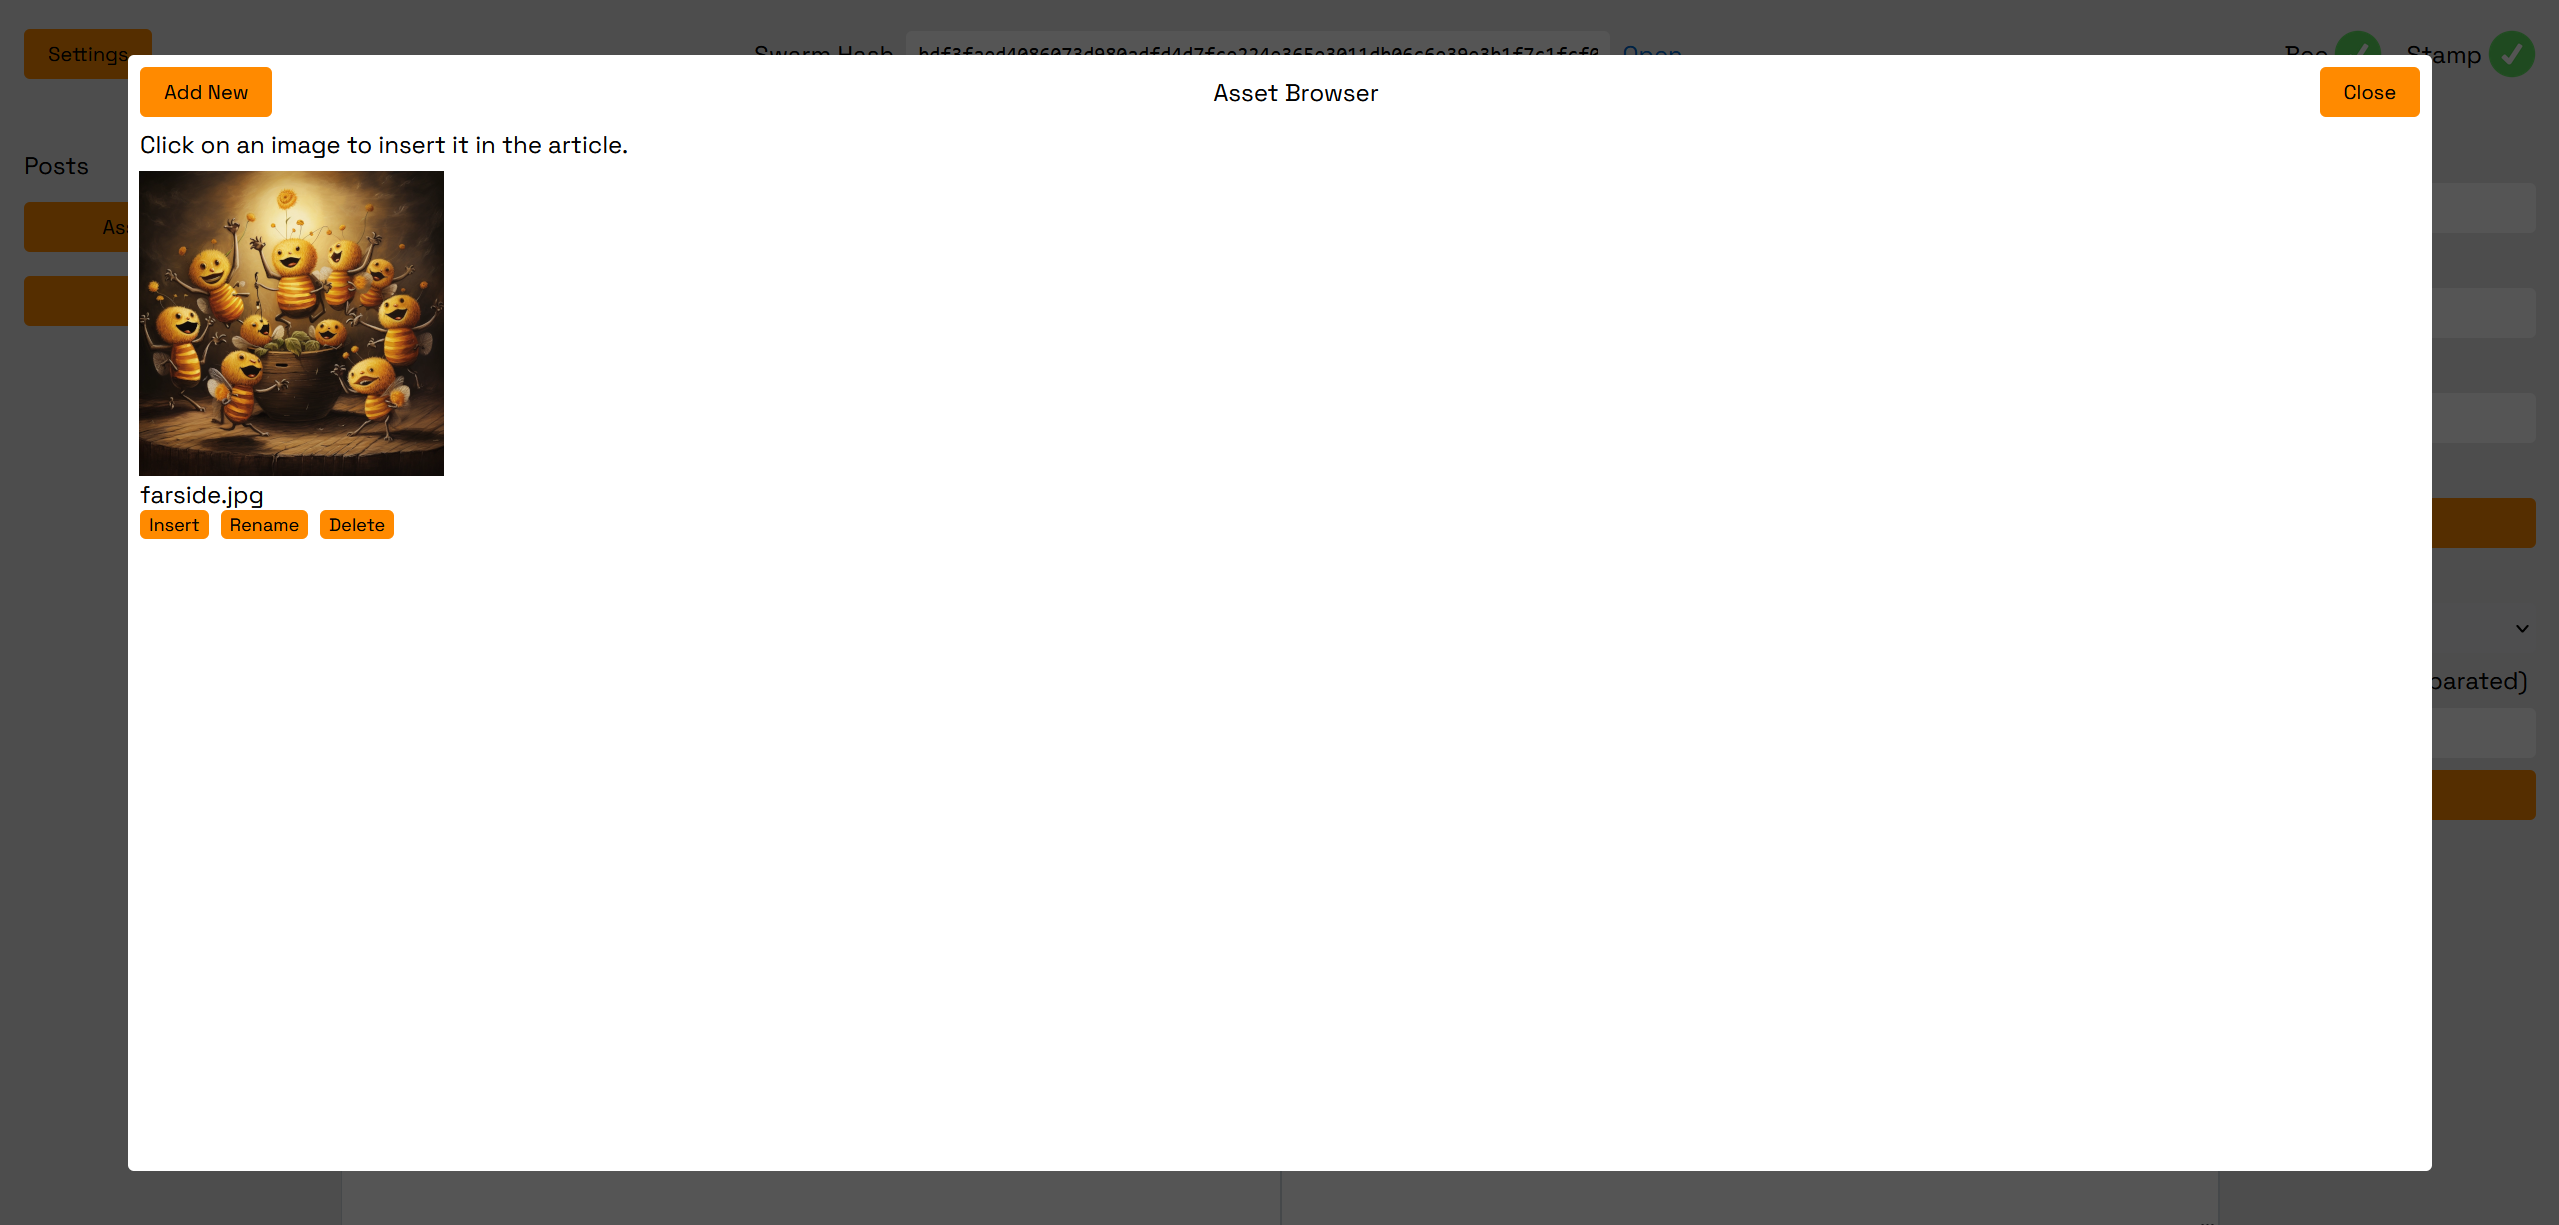
To add the image to your blog, simple click the "Insert" button.
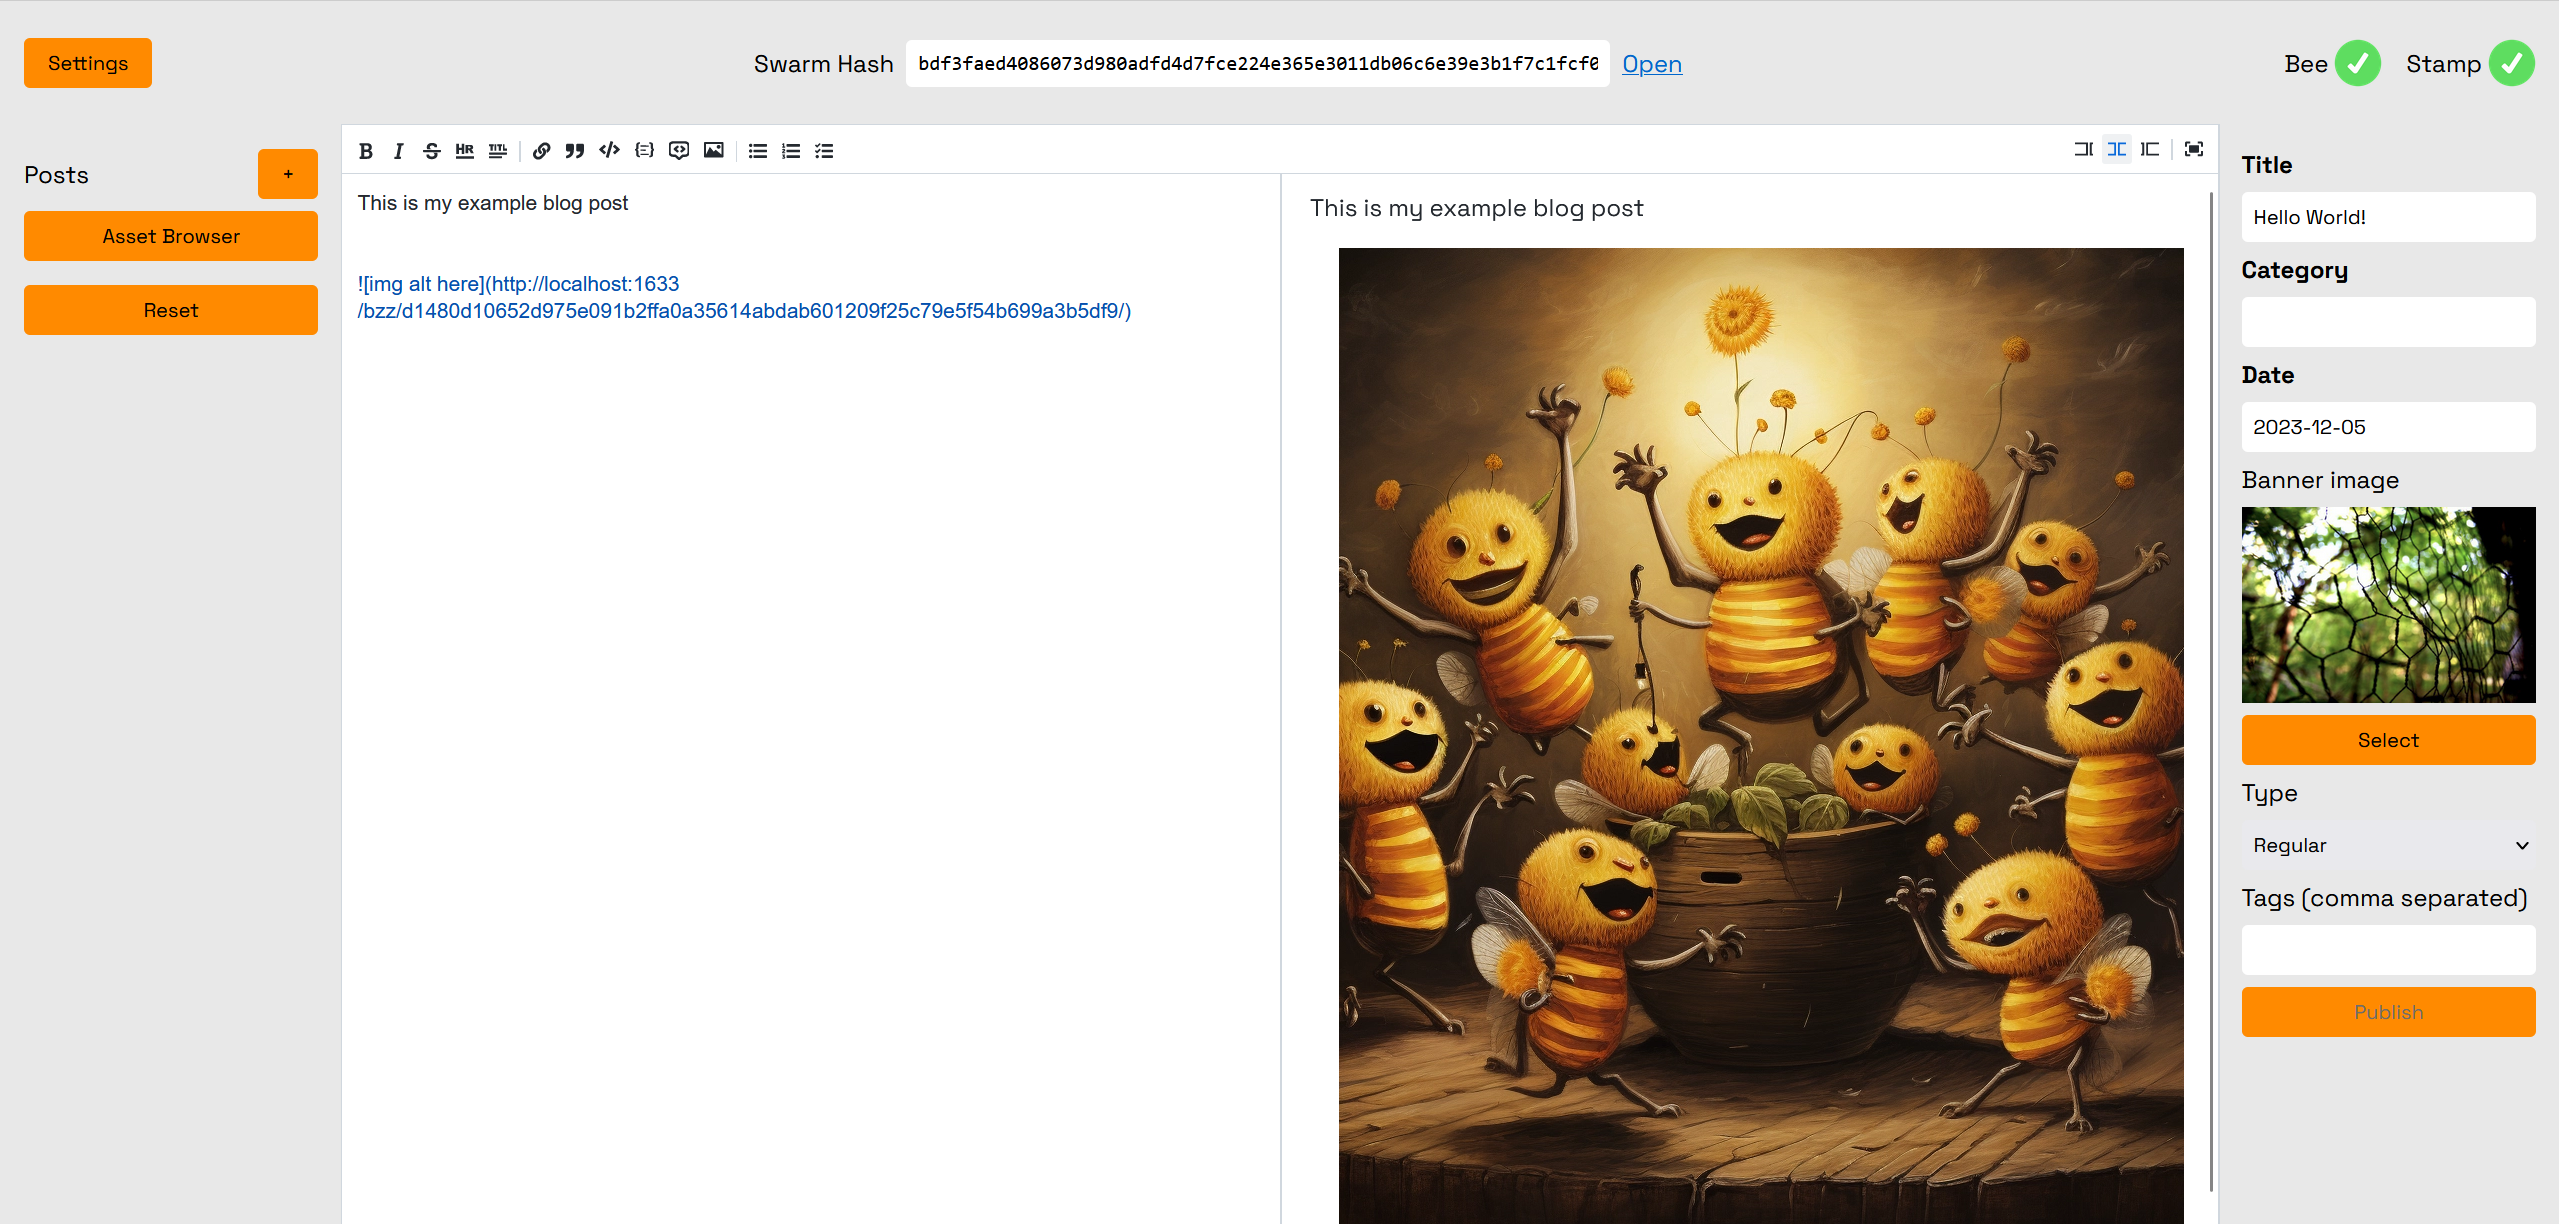
After hitting "Insert", the URL with the Swarm hash of the file you just uploaded will be automatically inserted into a markdown image tag, and will then become viewable in the preview panel on the right.
Set Background Image
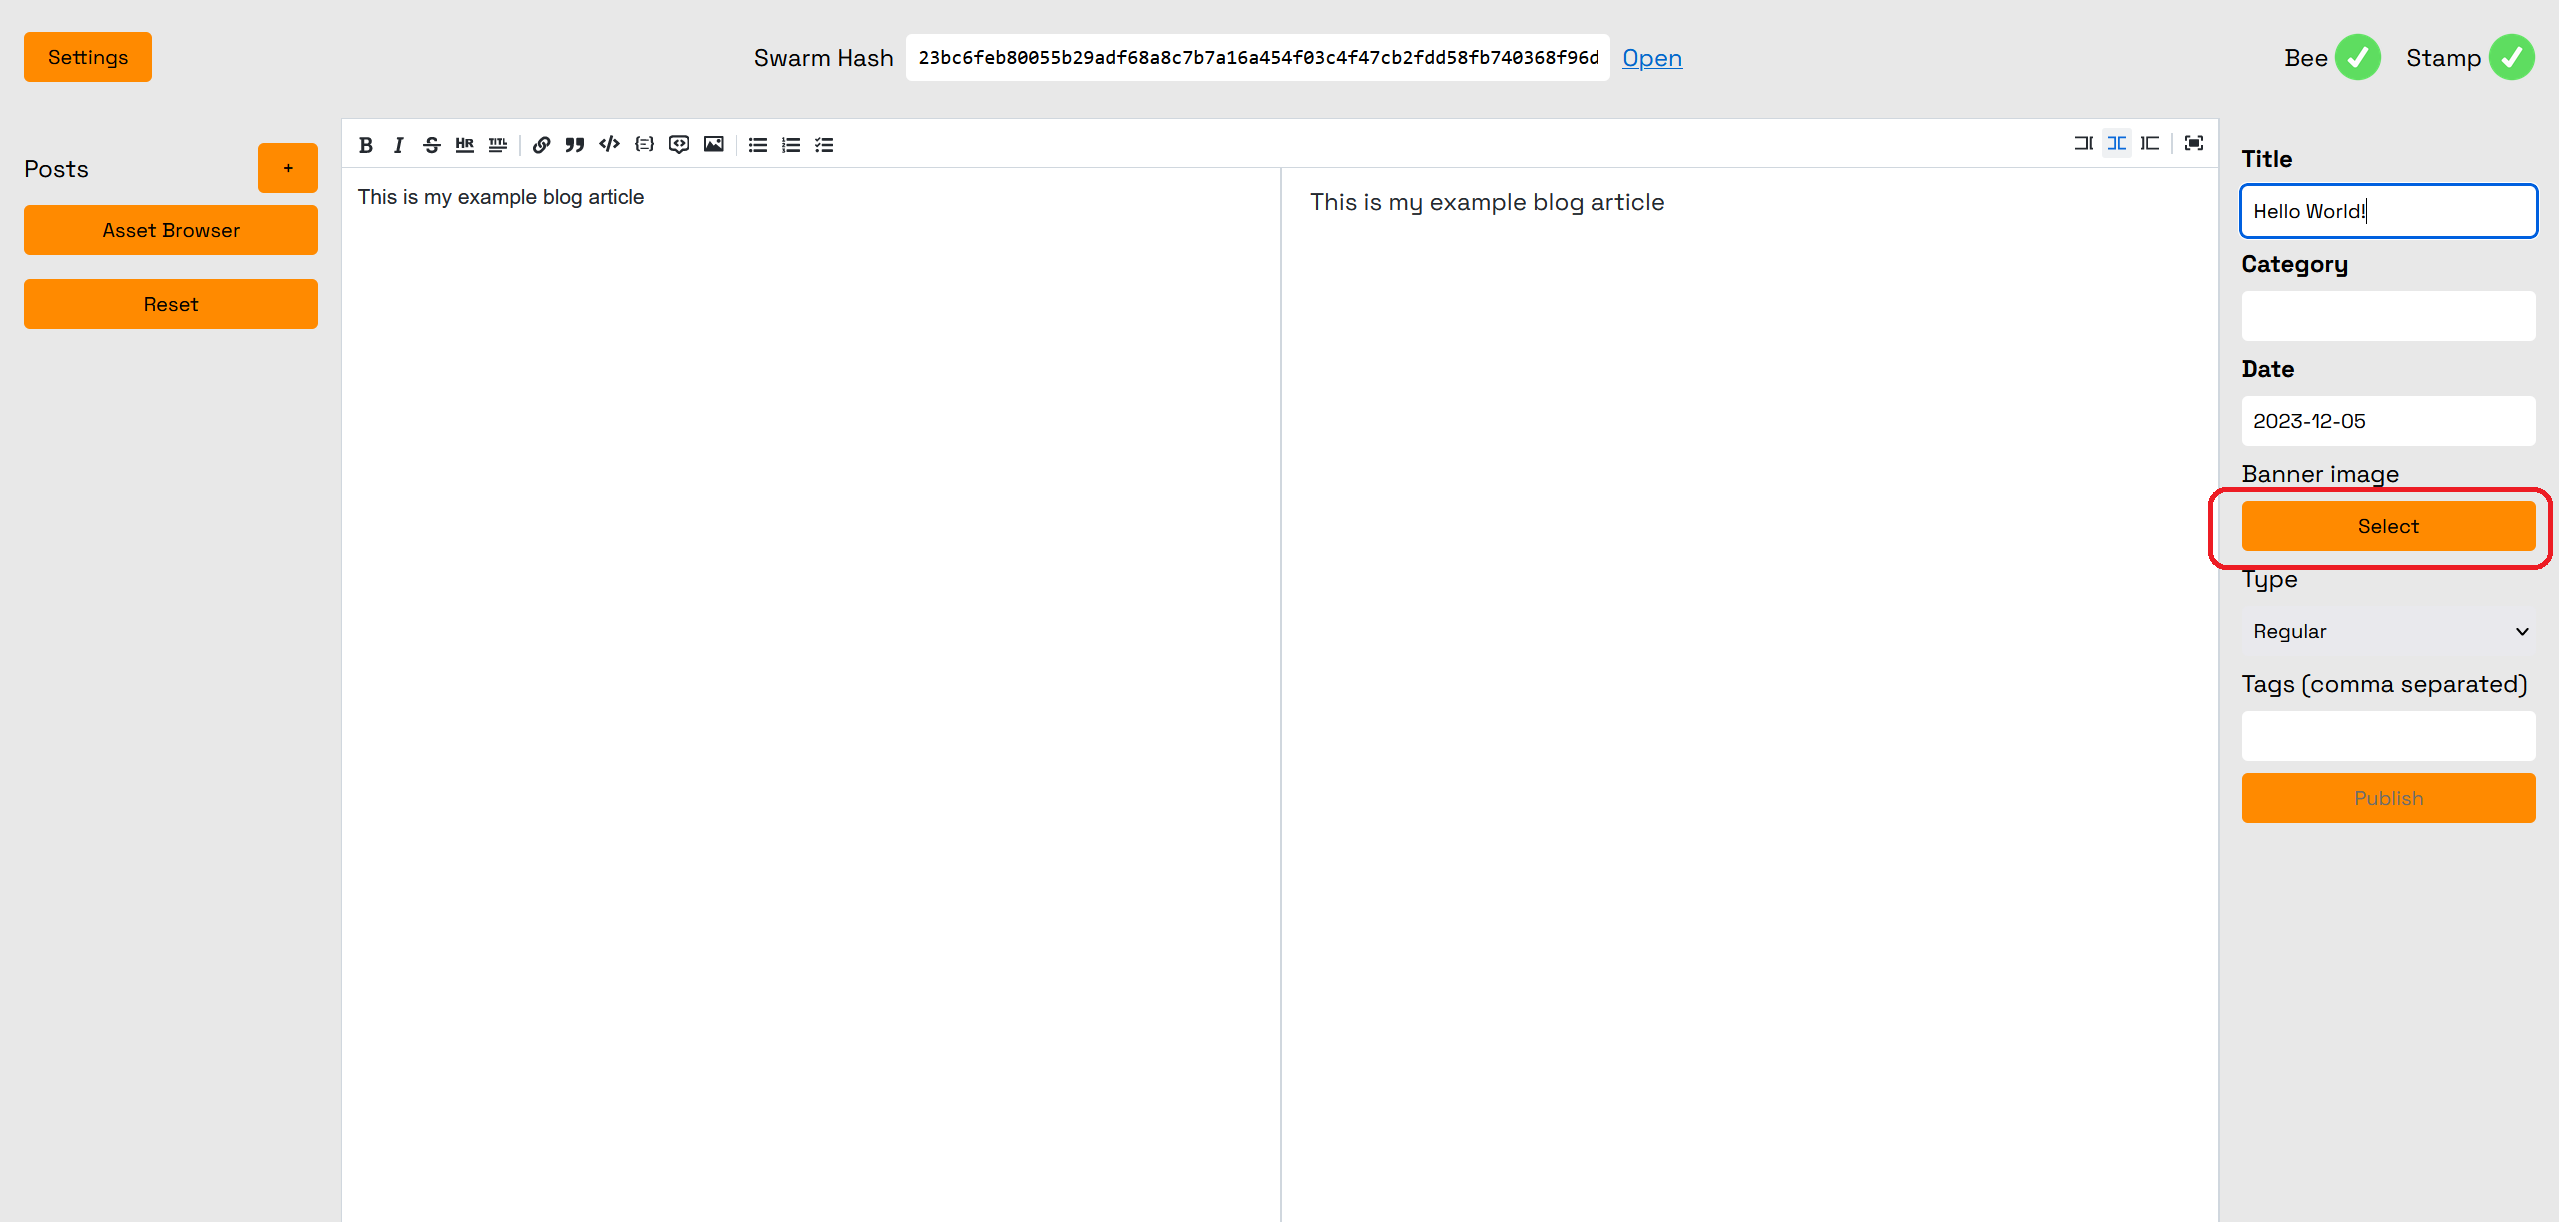
To set the banner image which will display as the preview image for your blog, click the "Select" button under the "Banner image" label. This will open up the same Asset Browser mentioned in the section above on adding media, and you may choose an image from there or upload a new one.
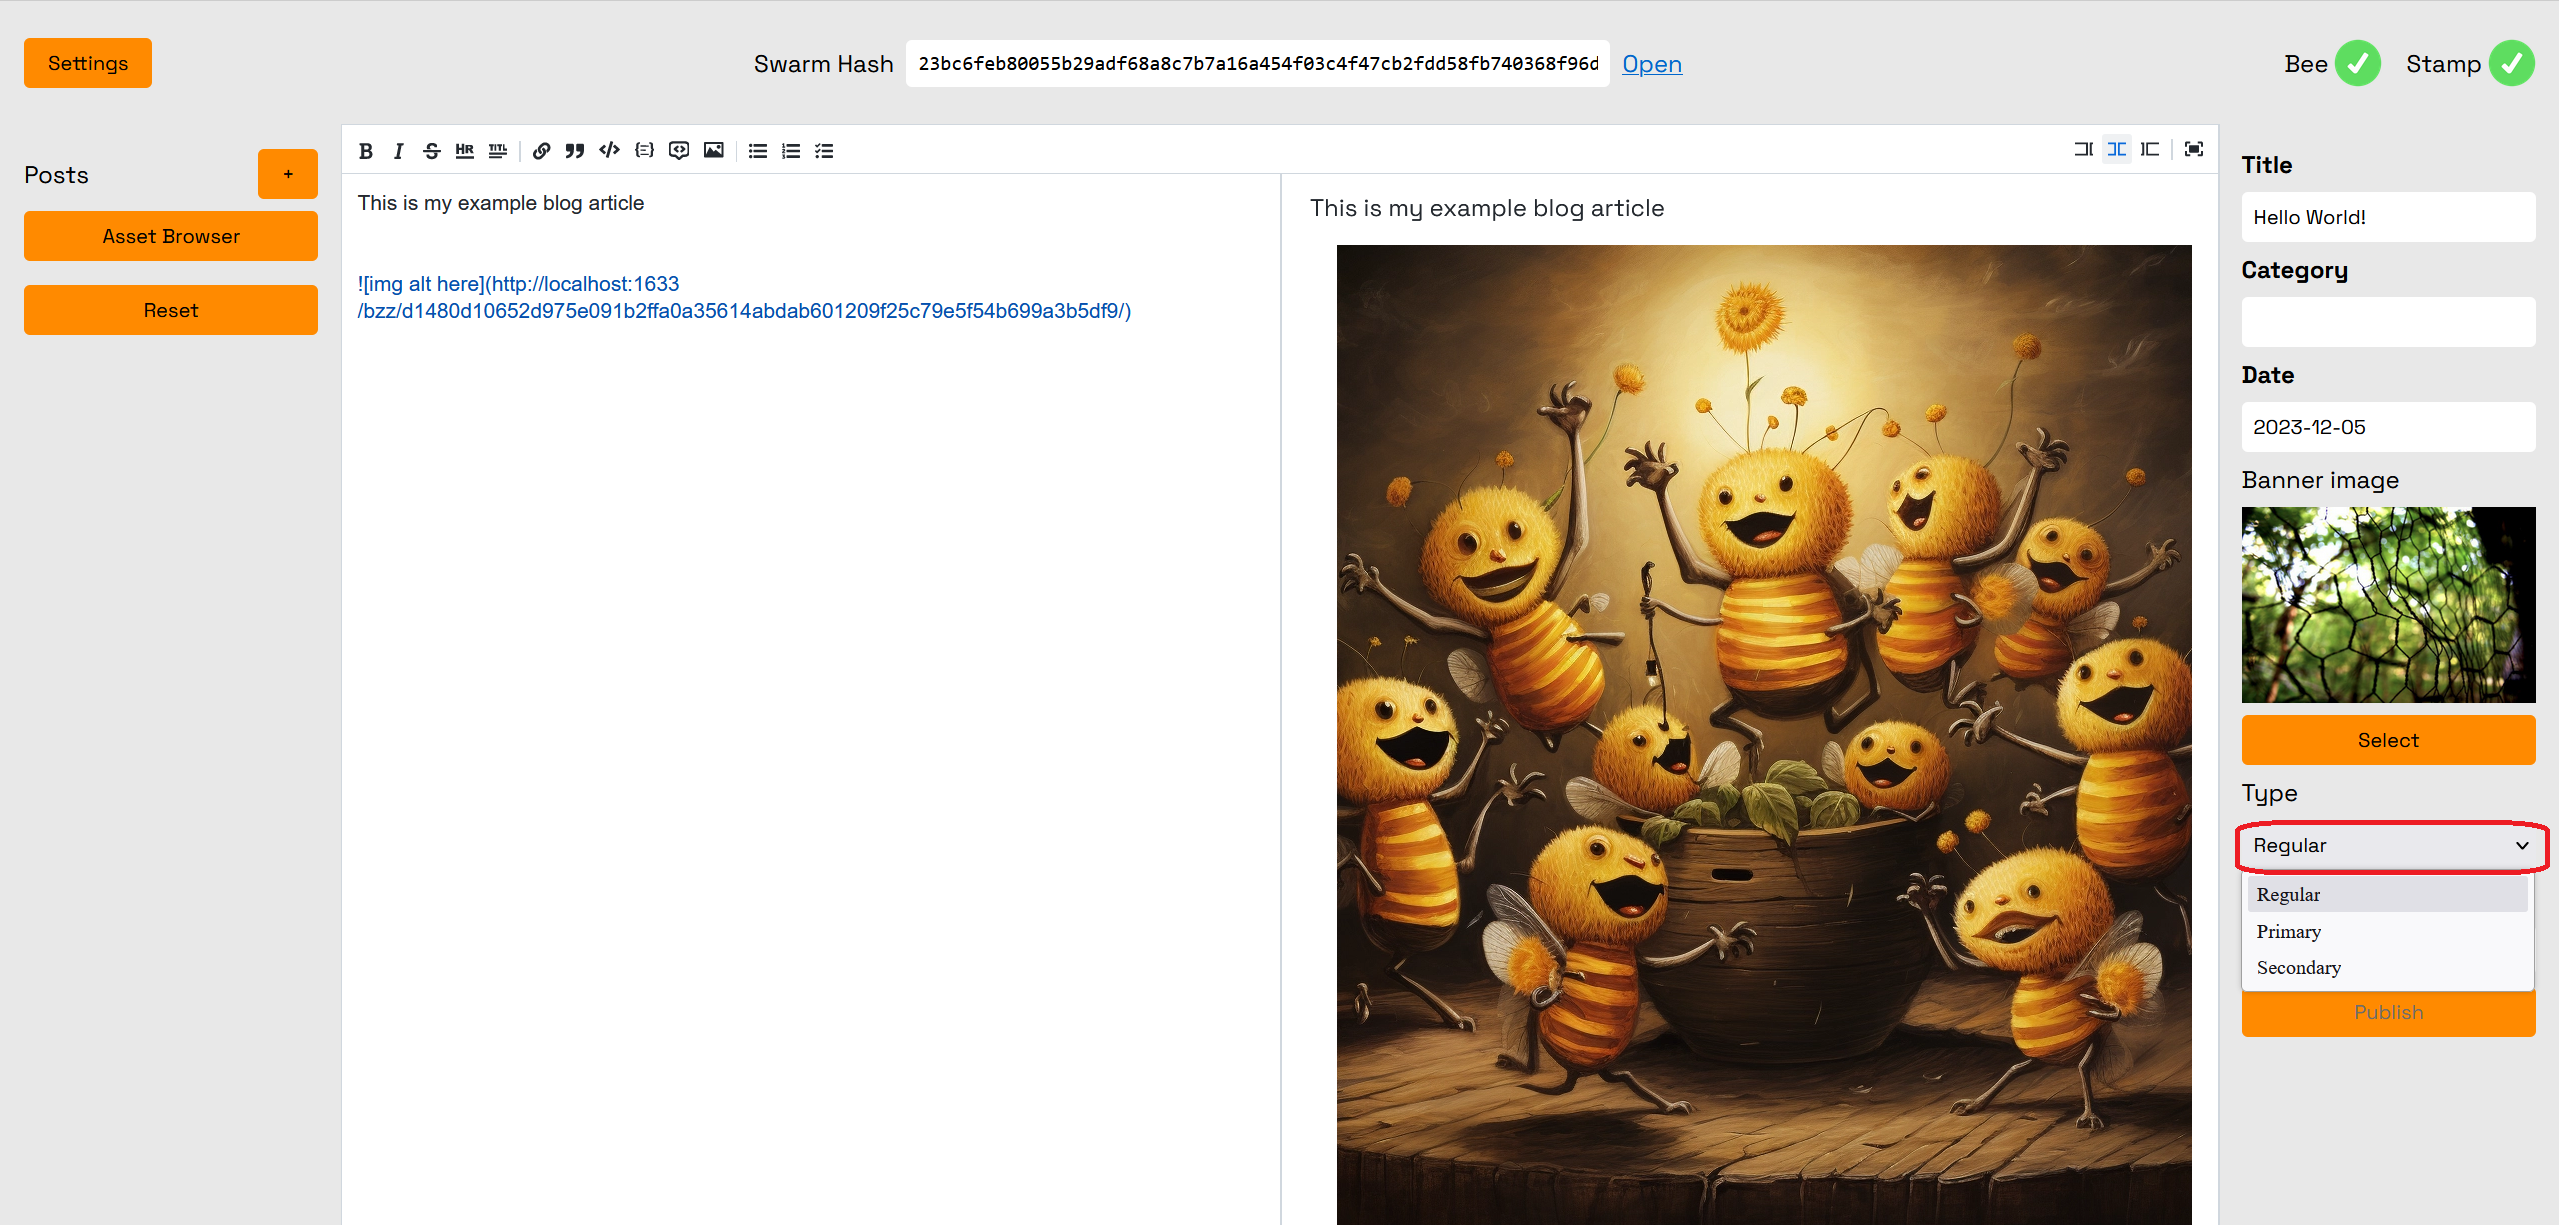
Set Blog "Type"
Next let's set the "Type" of our blog. "Type" determines where within the layout your blog post will appear. Simply click the dropdown button next to "Type" and make your choice.
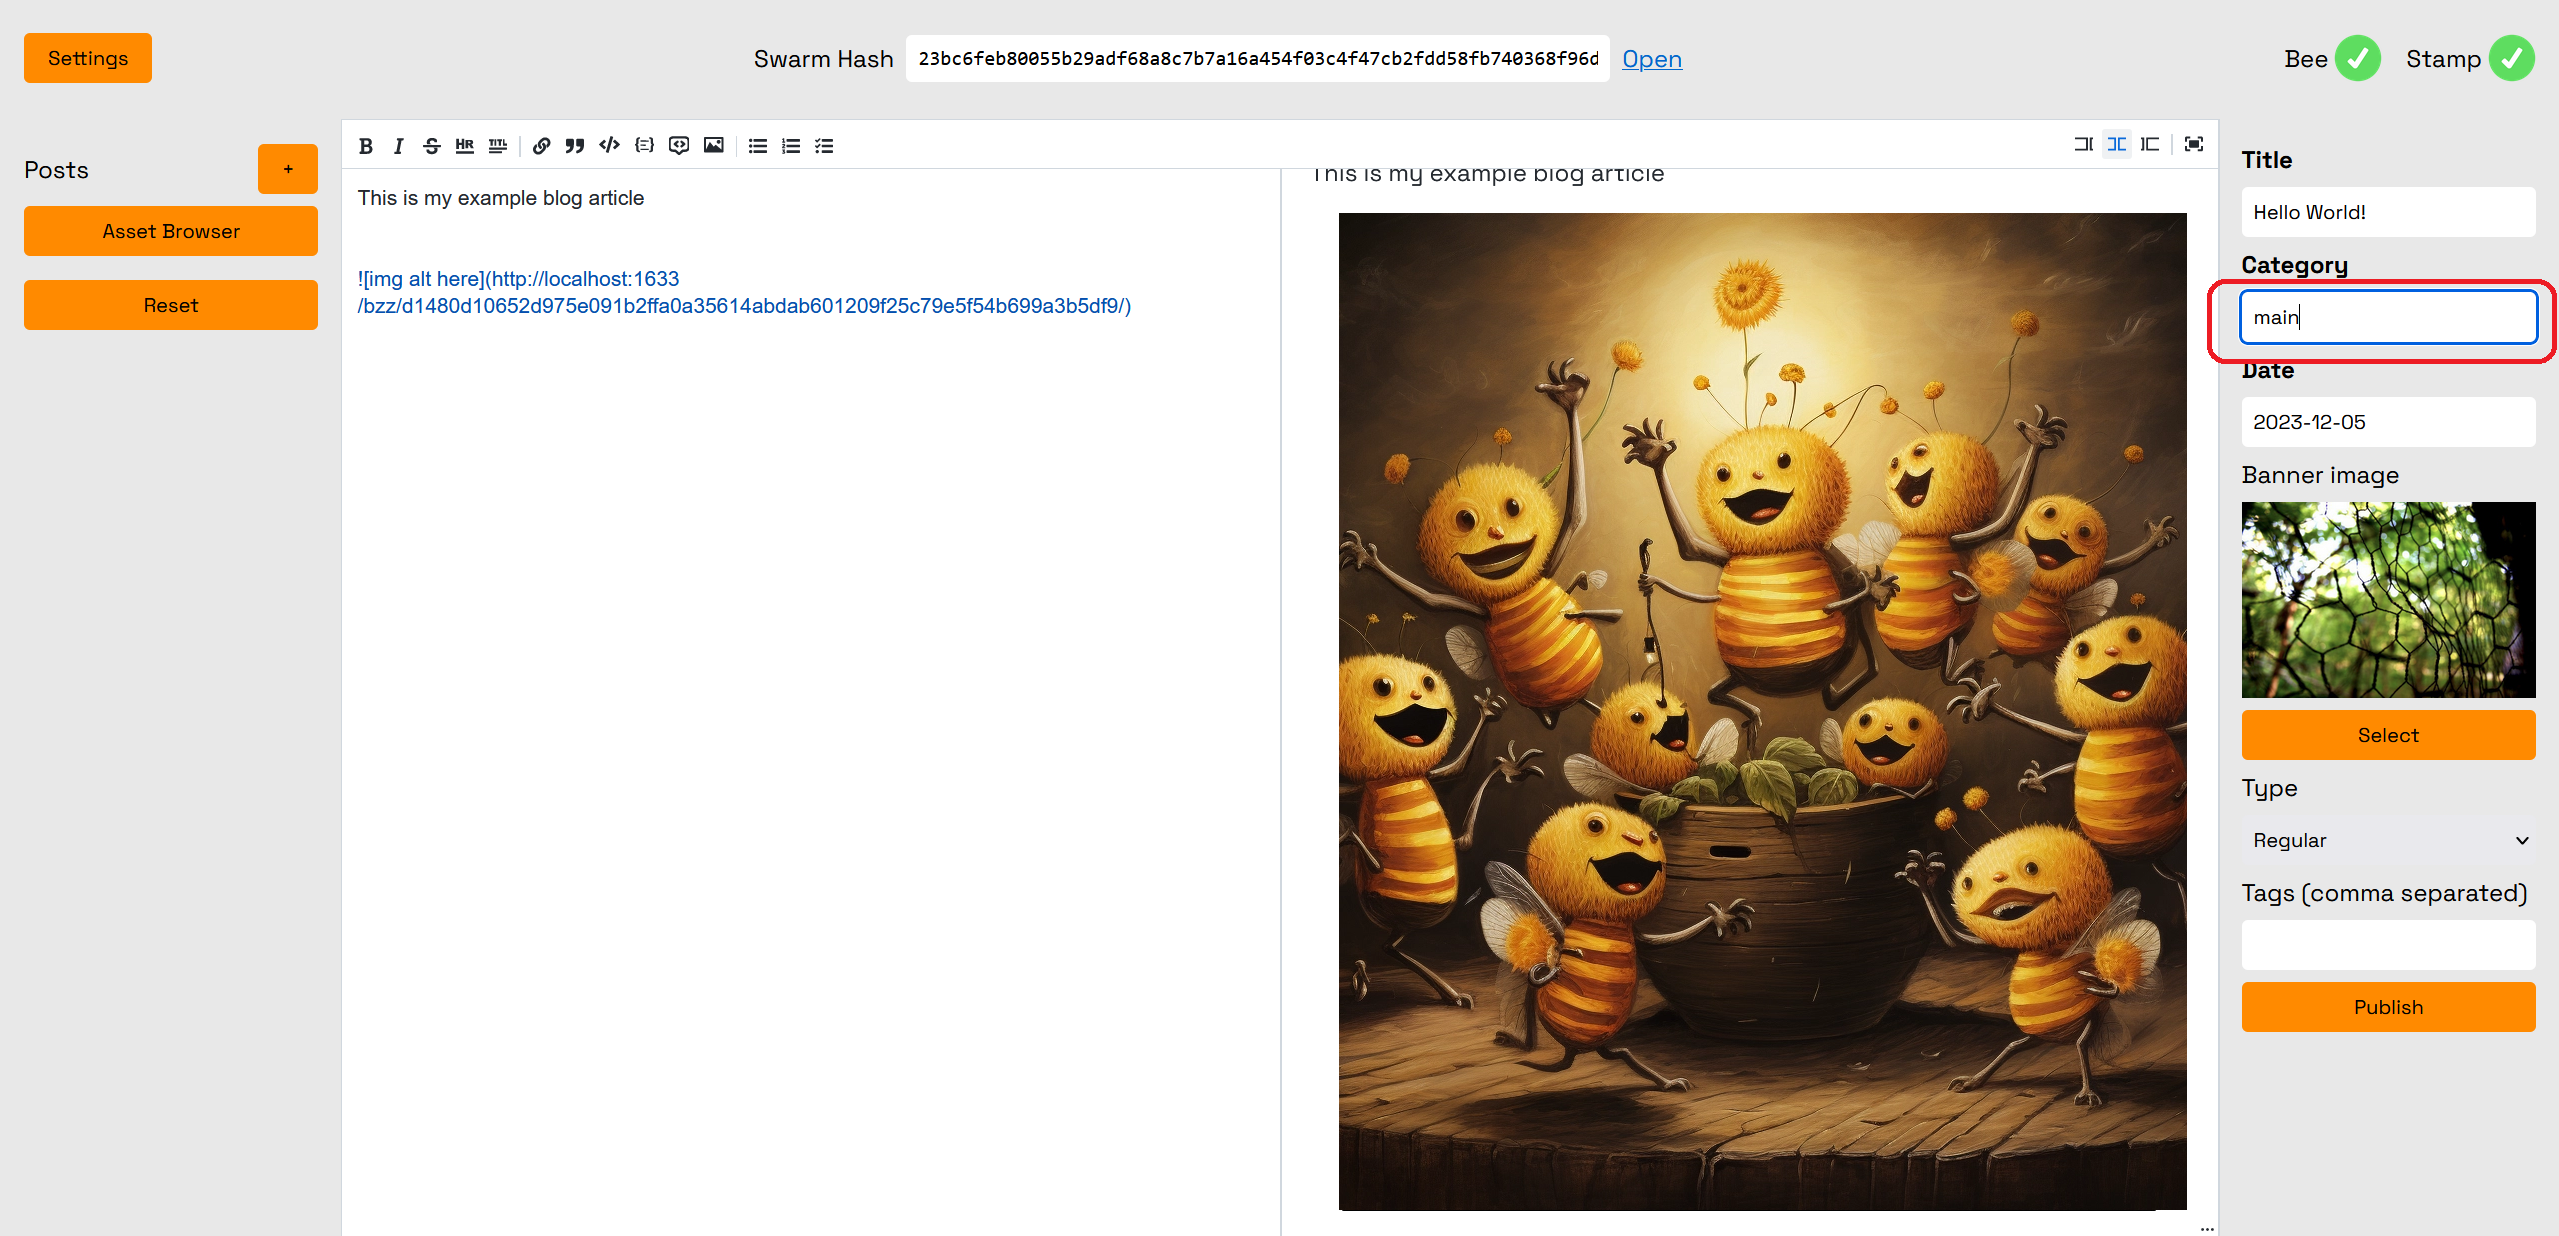
Set Blog "Category" (REQUIRED)
Note that "Category" must be set in order to publish any blog post.
Next we must also choose the "Category" for your blog post. This is used to group articles within your blog. You may choose whatever name you wish for the blog category.
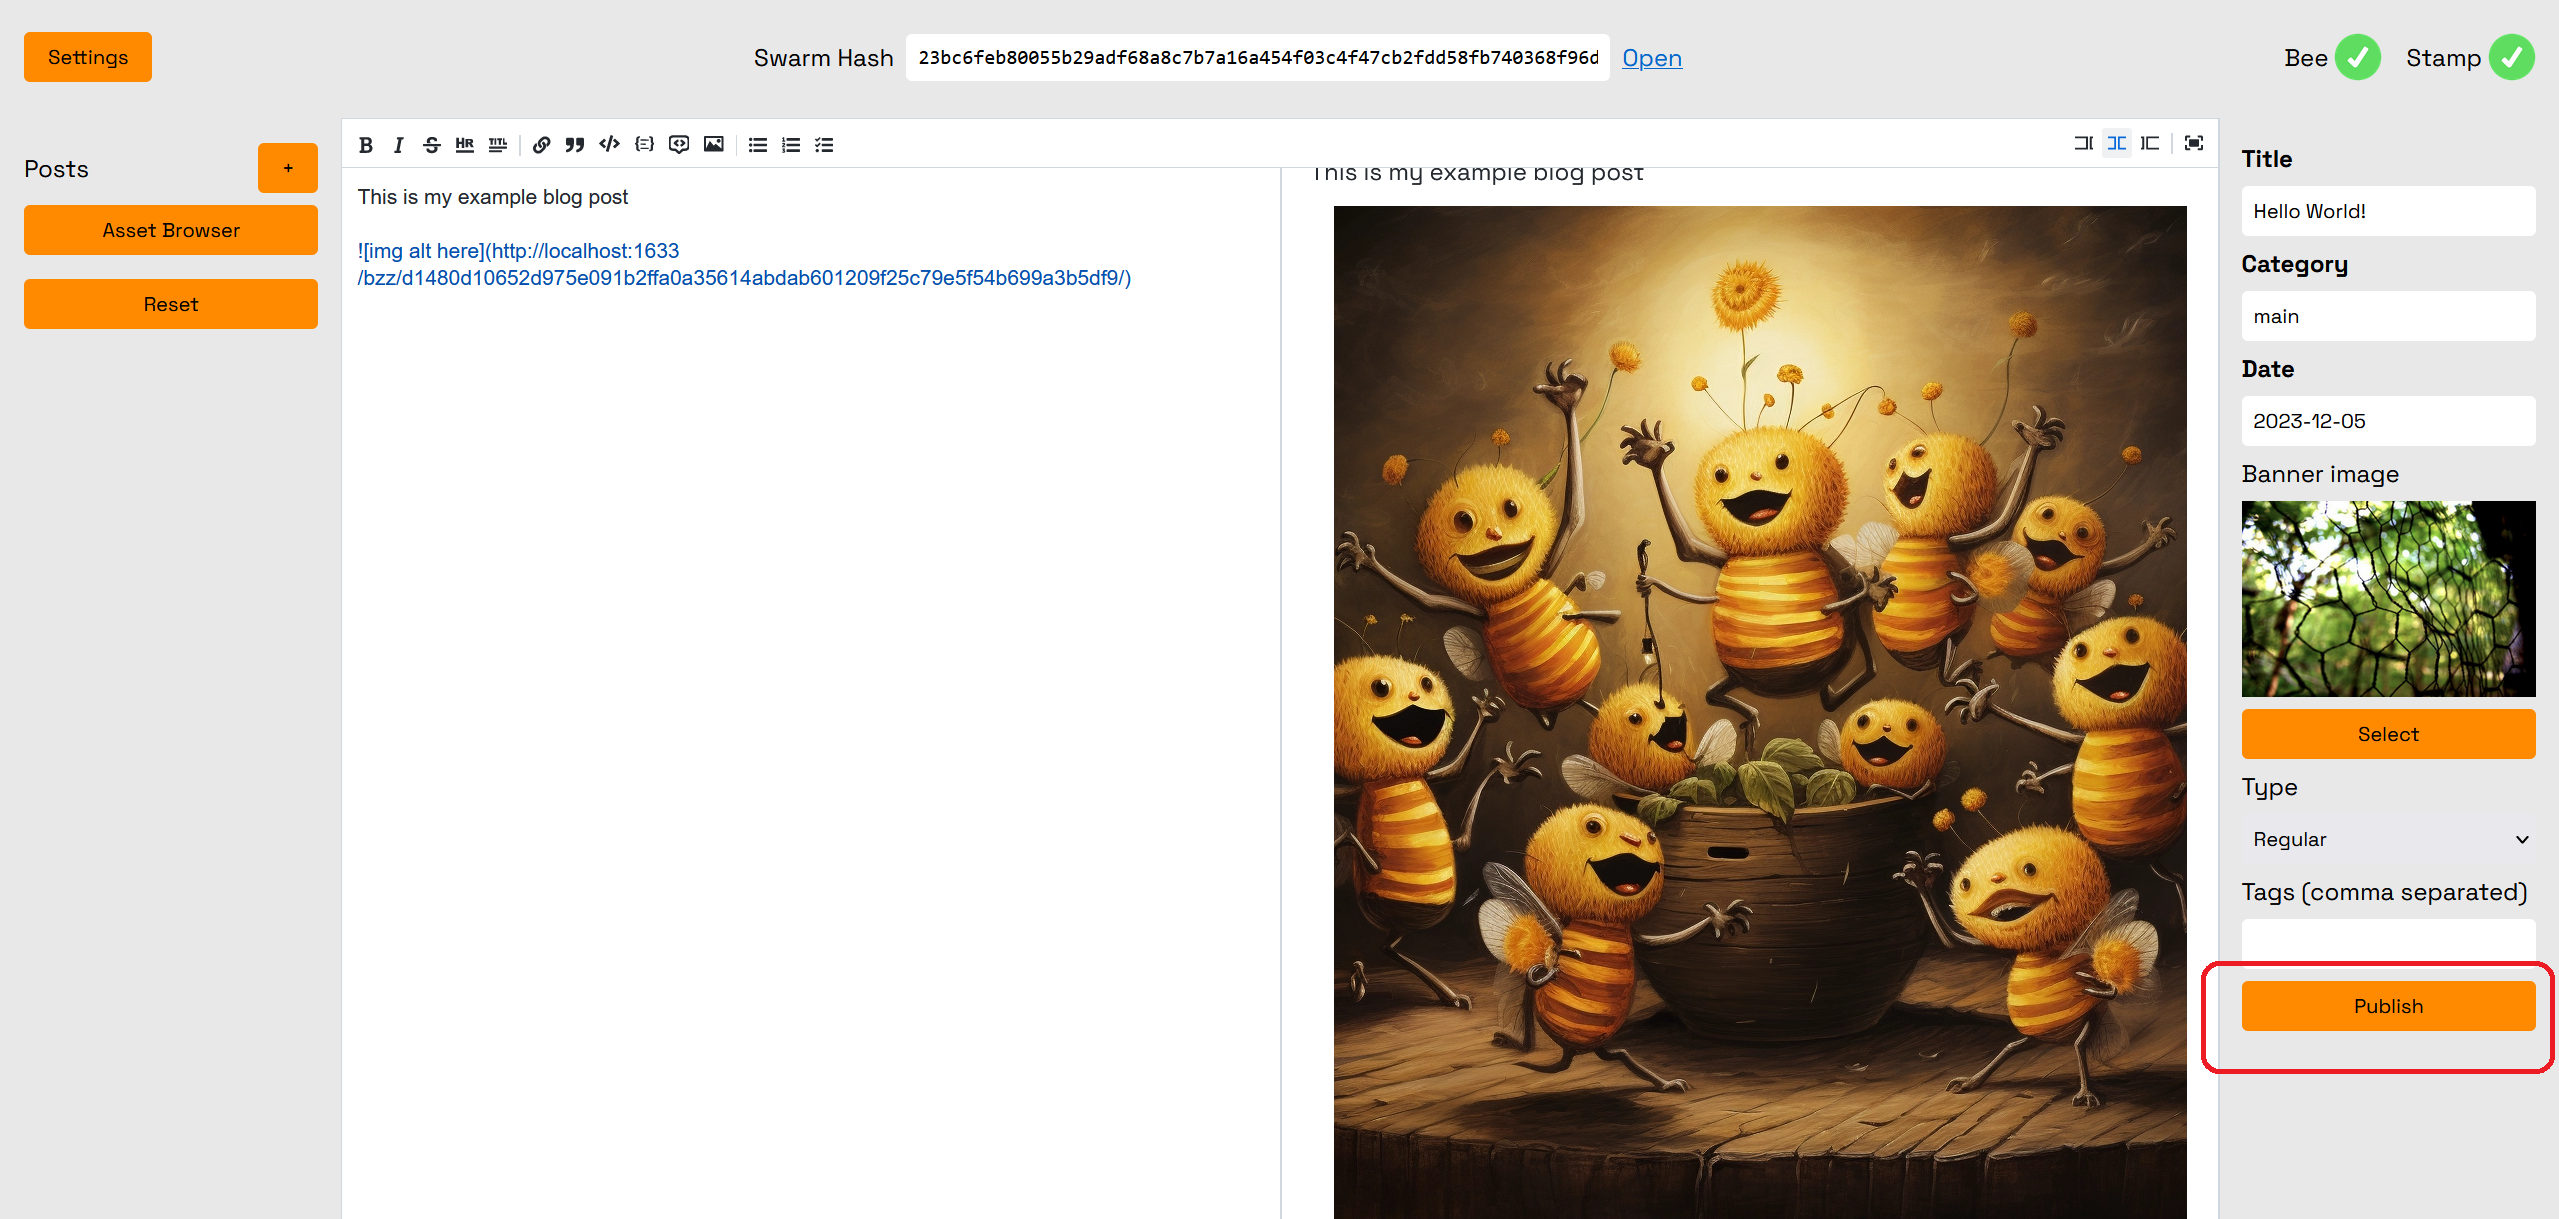
Publishing Your Blog
Now we are ready to publish our first blog post! Simply click the "Publish" button to initiate the transaction on Swarm to upload your blog.
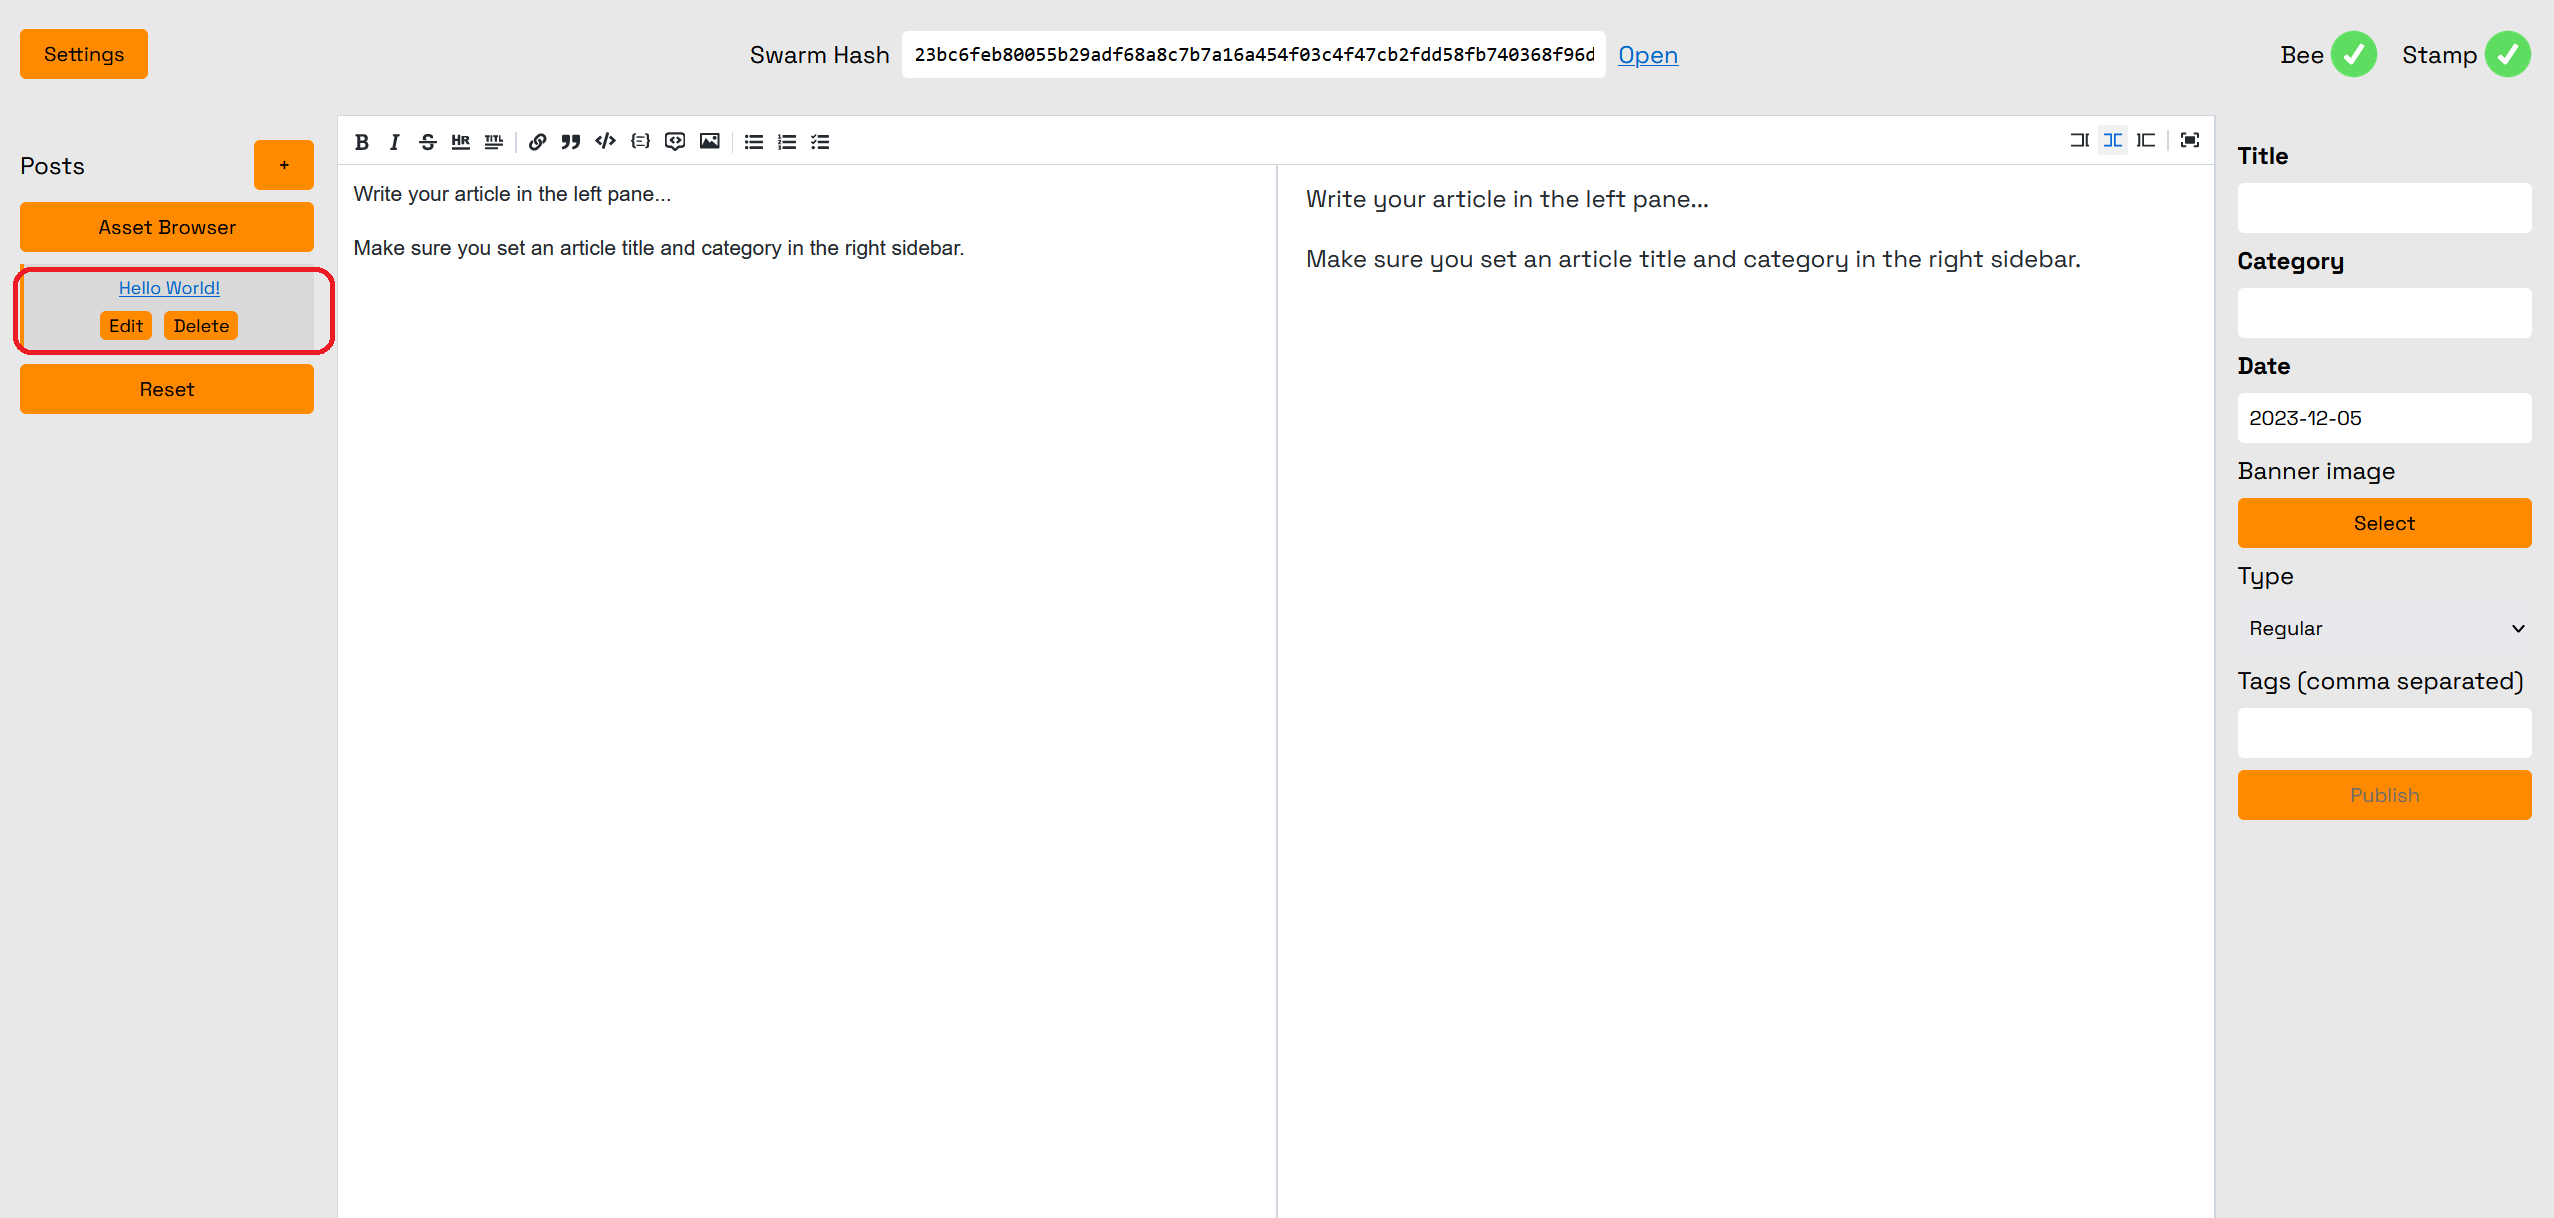
Once your blog has finished uploading, you will see it in the panel on the left. From here you can click "Edit" or "Delete" to continue editing your post or delete it.
Add a New Post
To add a new post, click the "+" button. Note that this will discard any changes from the current post you are editing which have not yet been published. Make certain to publish any changes you want saved first.
Settings and Optional Features
Click "Settings" to open up the Settings page. Note that any unpublished changes will be lost.
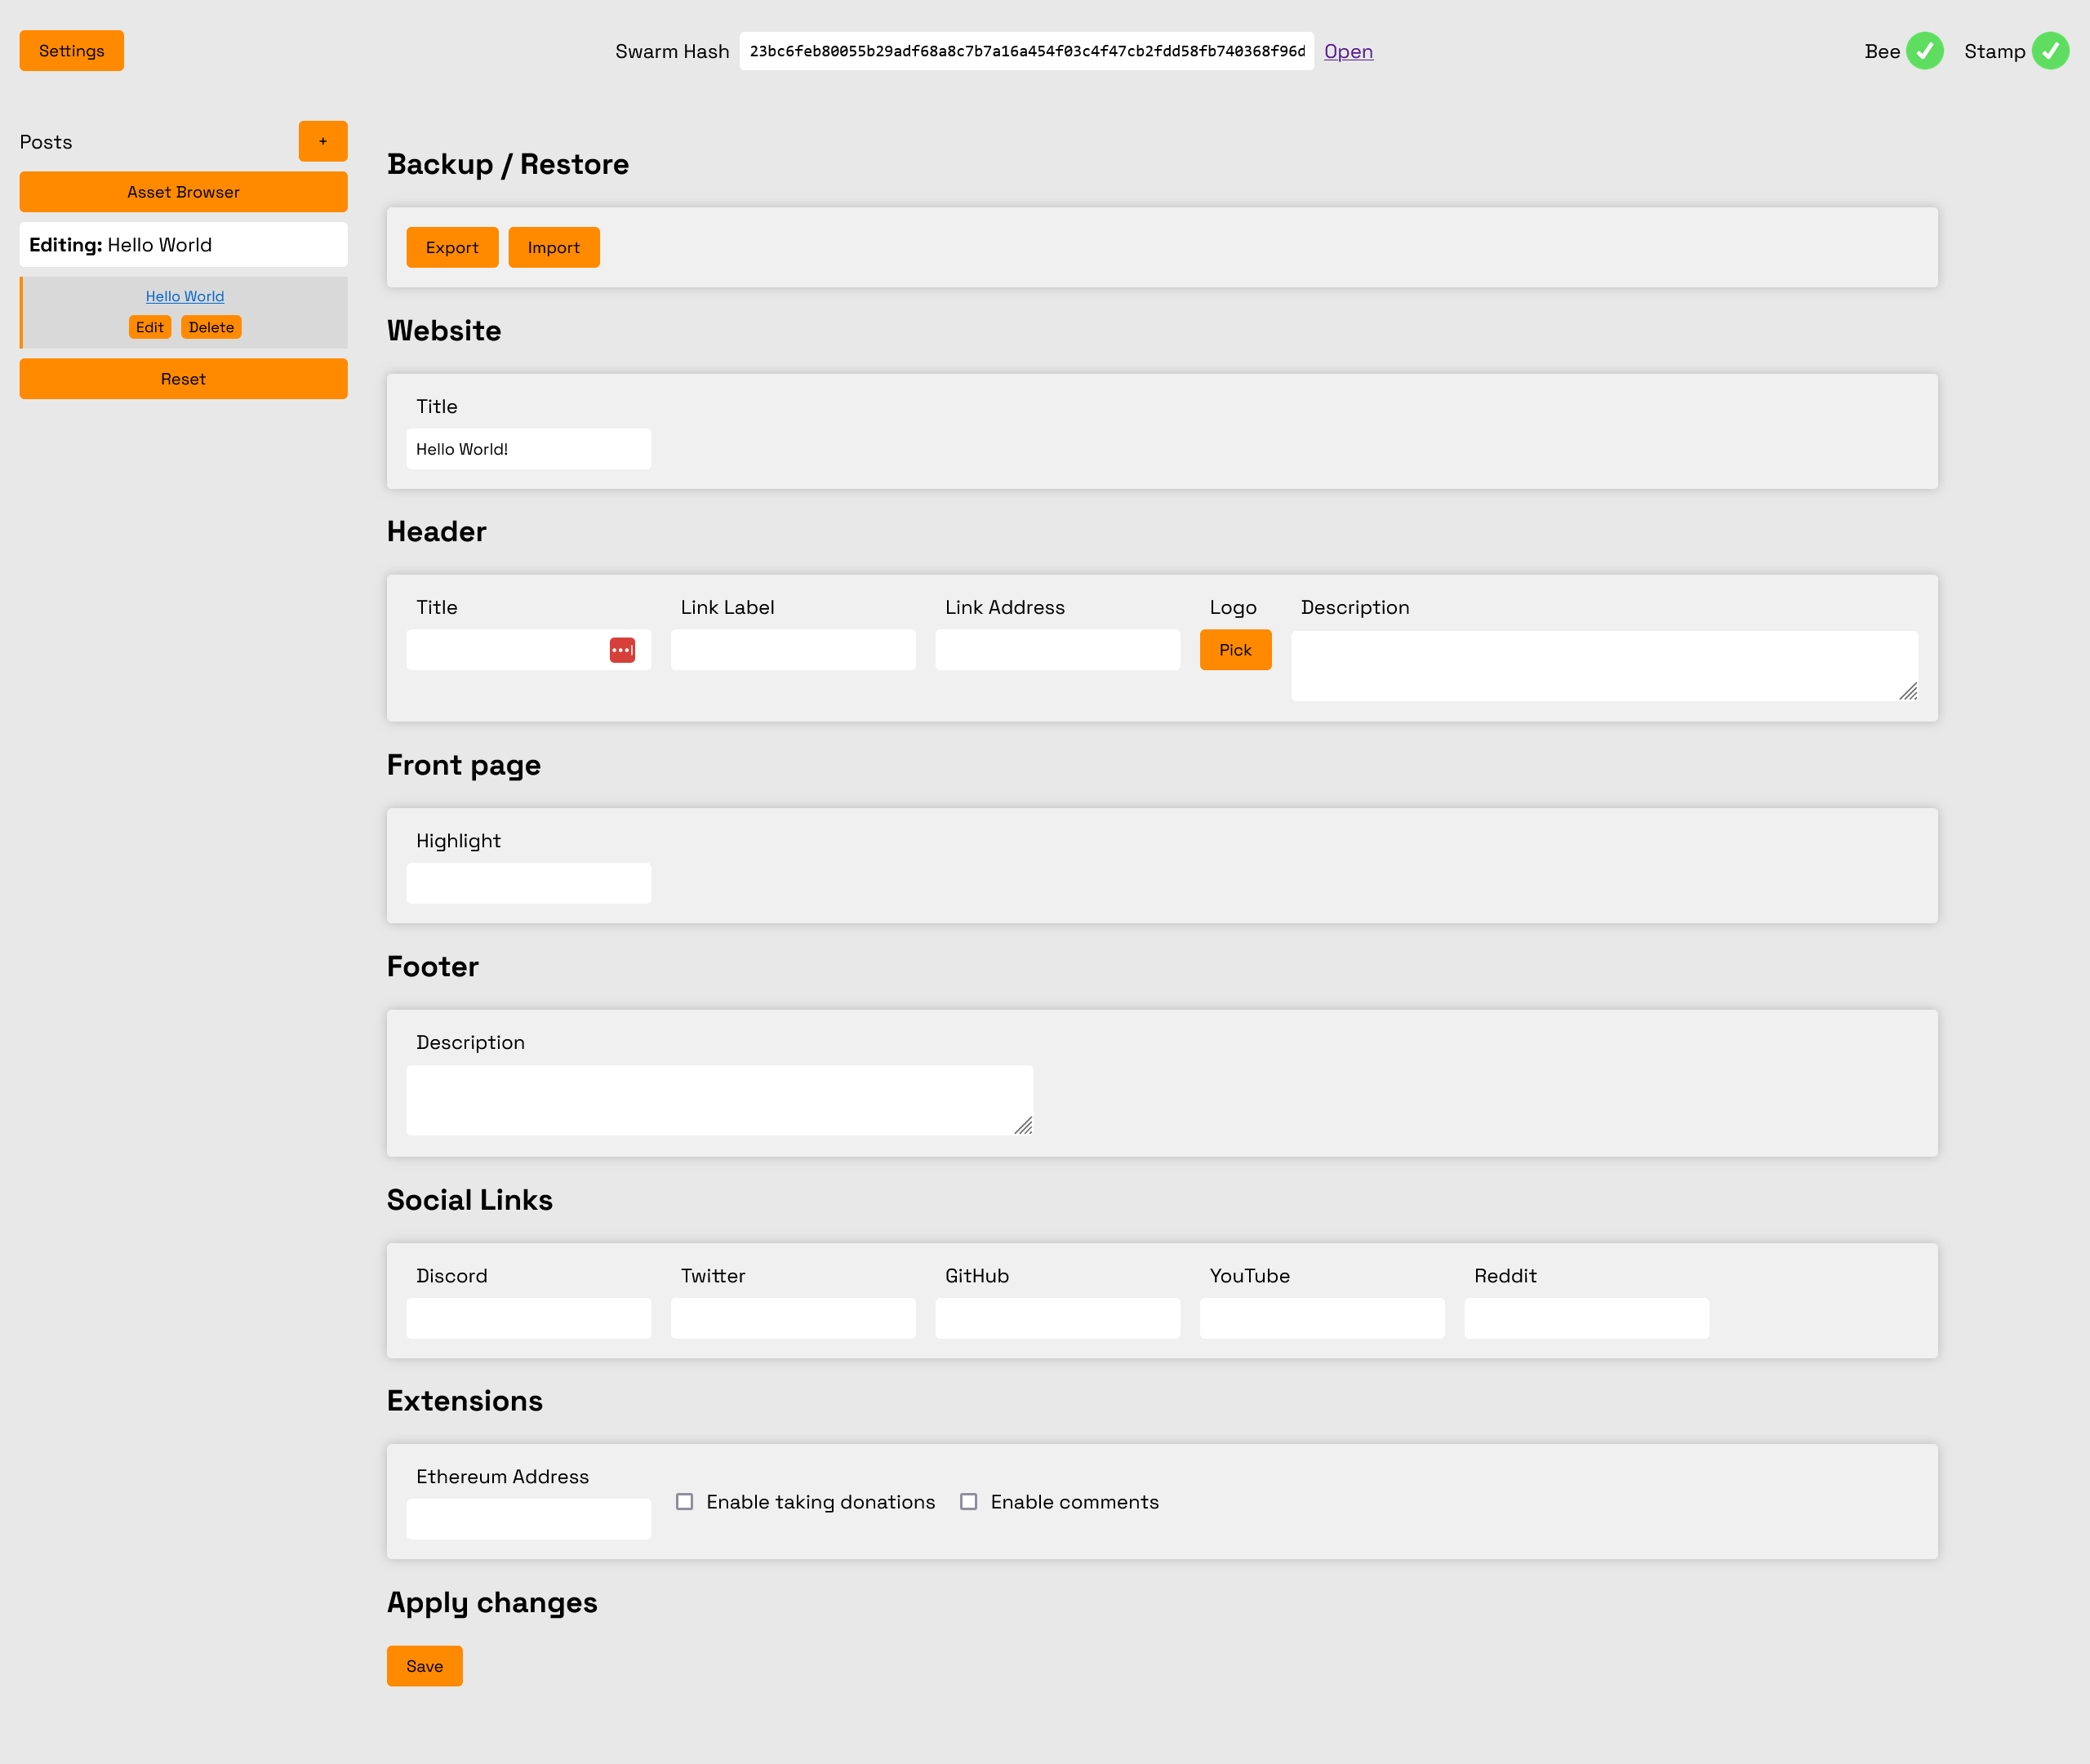
From here you can back up and restore blogs, and can set a variety of other options.
Setting Custom Text and Links
Highlighted in this first screenshot you can see the options for setting custom text and links.
Changing Default Text
Reset Your Blog (DANGER)
Hitting the "Reset" button will cause you to lose any content which has not yet been published and backed up. Make sure you have backed up your blog before clicking "reset!"
To reset your blog and start a new blog, click the "Reset" button. This will immediately reset your blog, and you will lose any changes which have not yet been published. You will ALSO lose anything which you have not backed up, so it is important to back up your blog before resetting.